Last Updated on April 20, 2022 by WP Knowledge Hub
The Google Analytics software is among the best on the web. Monitoring page views (traffic to your website) is possible using it, as well as demographic and location information. It is also possible to view your traffic in real-time, or to dig deep into reports about user behaviour.
To start, you’ll need to register for a Google Analytics account.
Setup a Google Analytics Property to Add to WordPress
Account Details
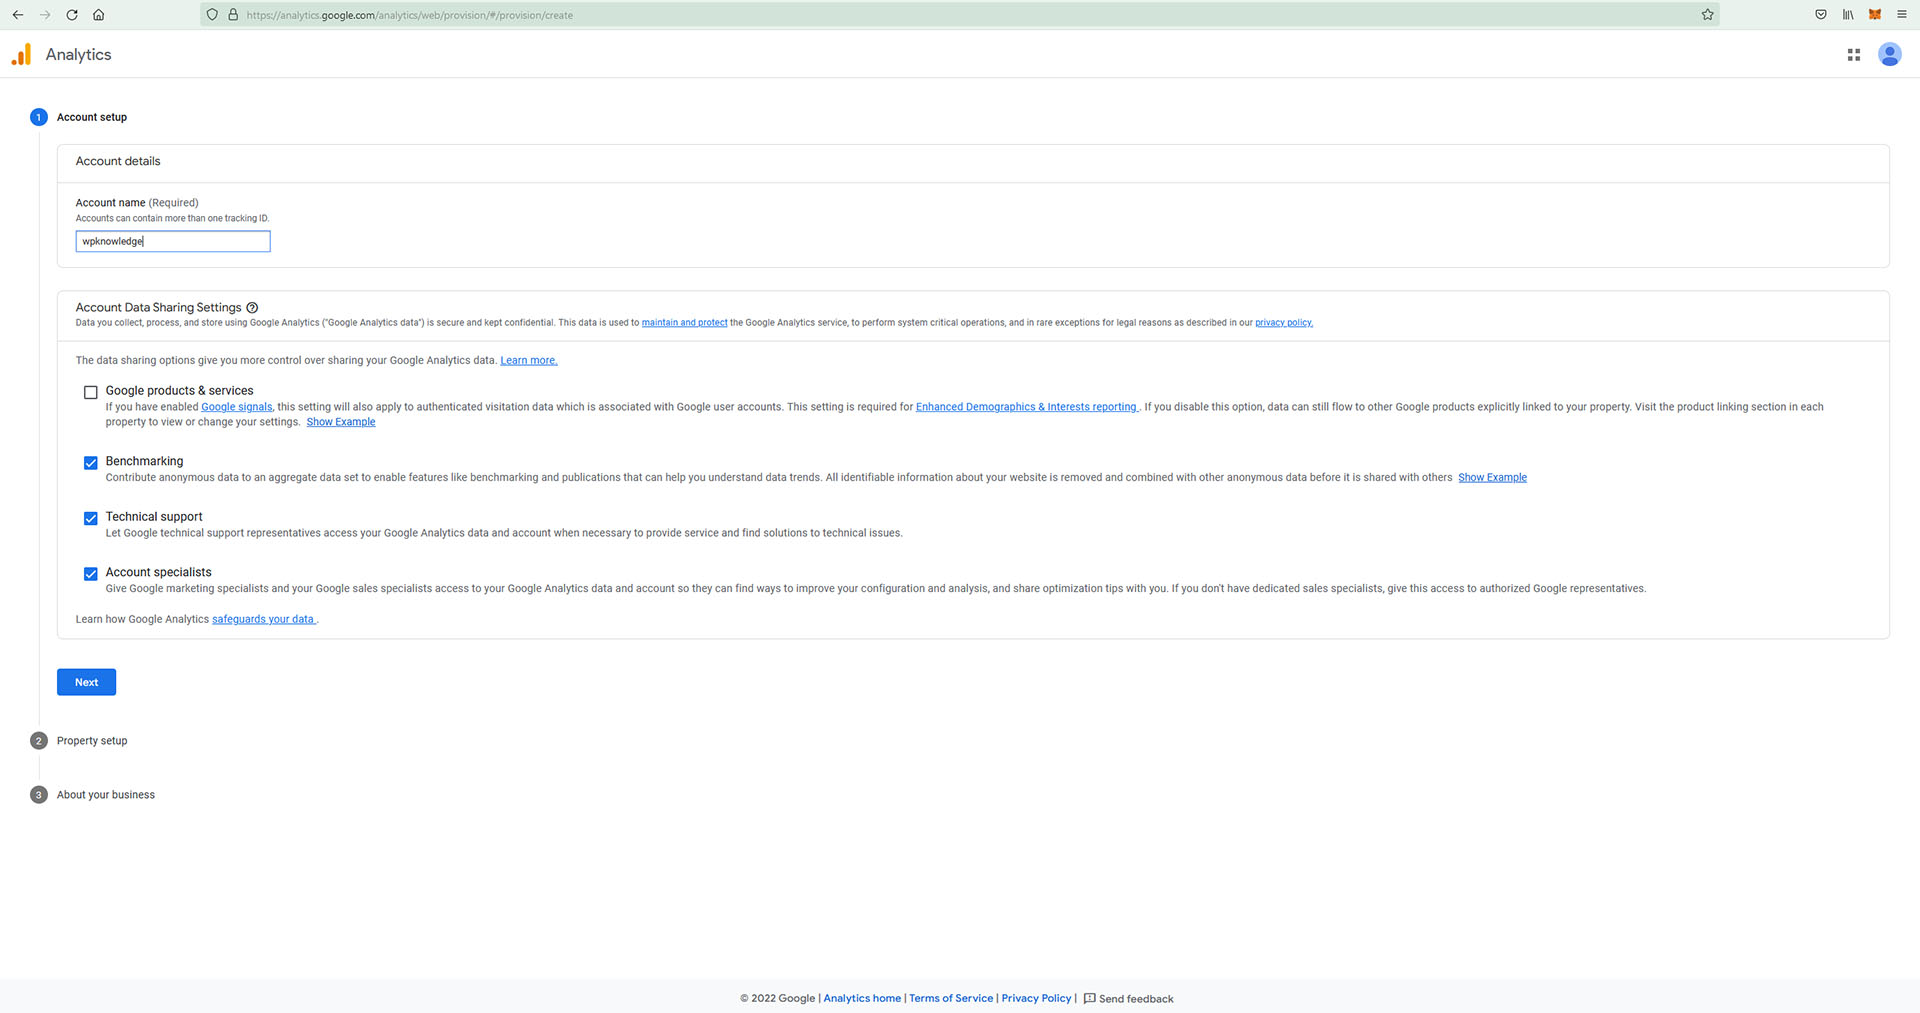
Go to https://analytics.google.com/ and click Start Measuring.
Here, you will need to create your account details. Enter an account name and leave the rest as-is. Click NEXT.
Property Setup
Next, create your Property Details.
Enter a name for you property (pretty much the same as above), and change the the settings to match your location and timezone.

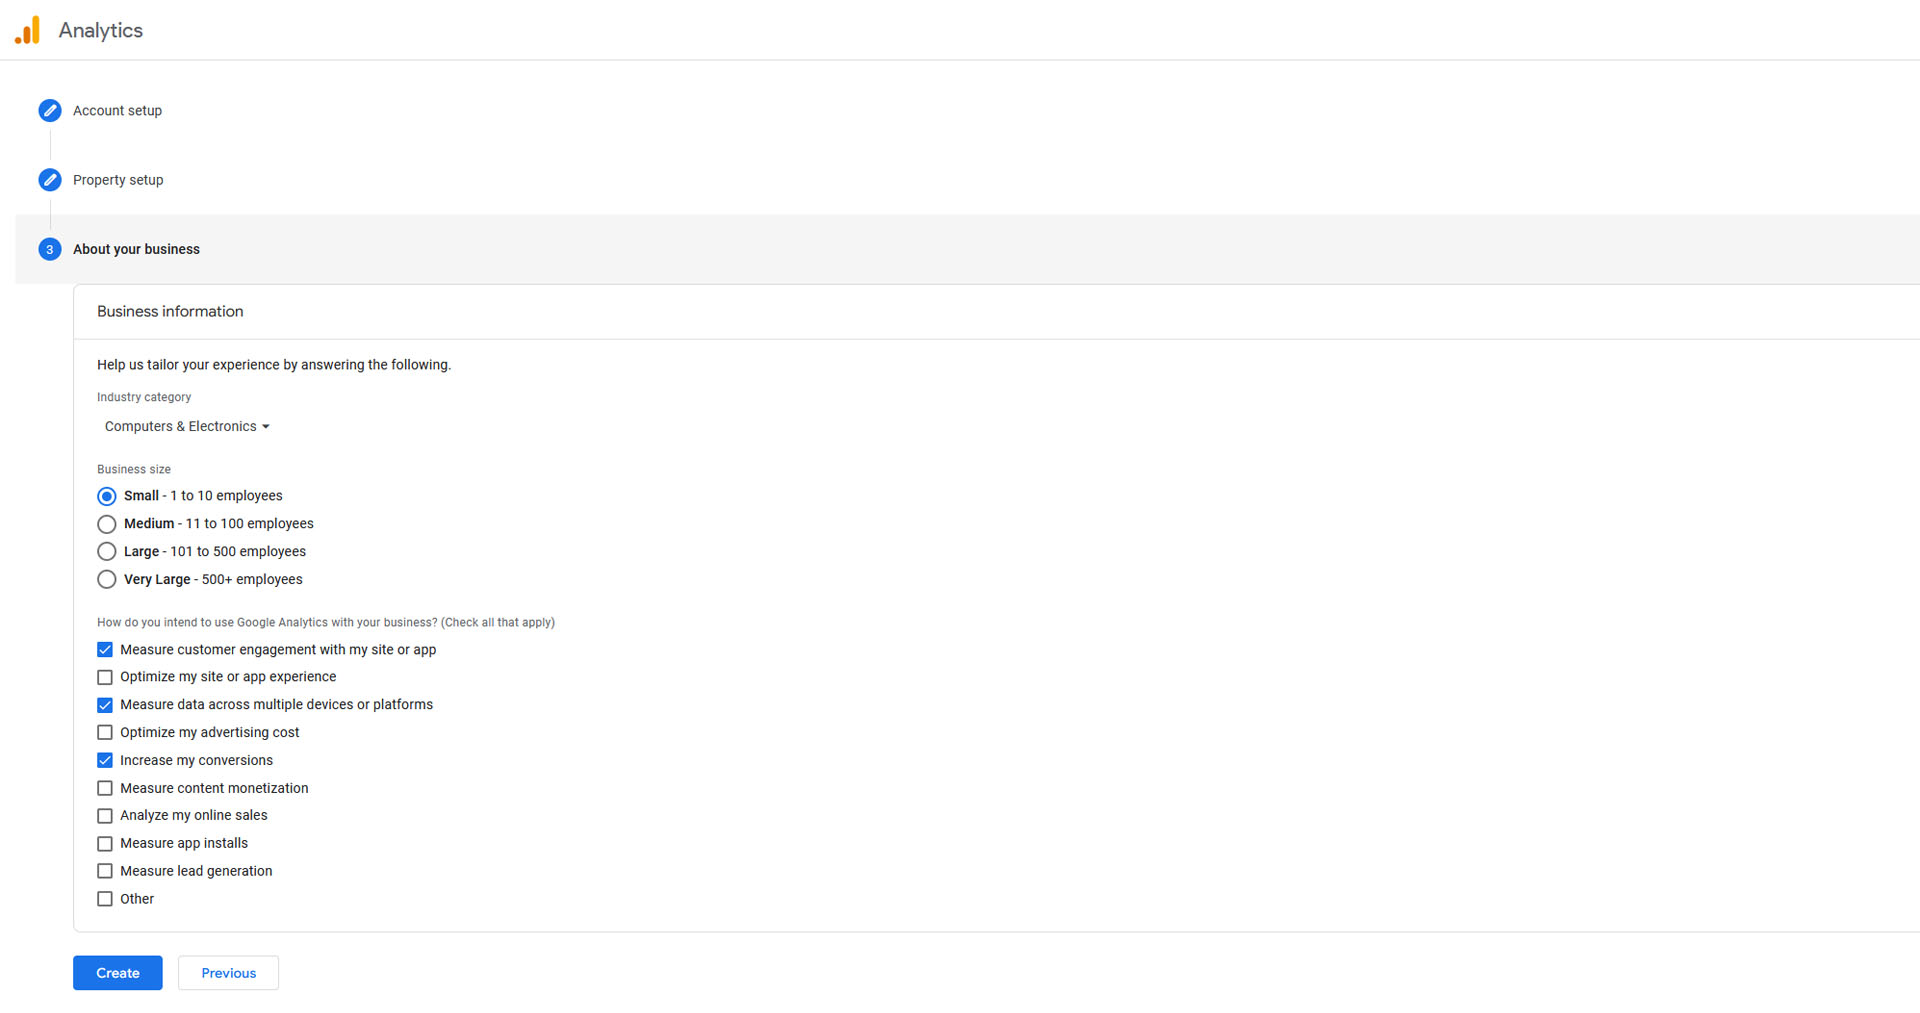
About Your Business
Next, enter your business information and click CREATE. You’ll have to select your country here, and accept the Terms and Conditions to continue.
Now that your account is all setup, you’ll want to create a DATA STREAM. Click on the little home button in the left navigation, and start measuring data on your website by clicking the blue WEB button in the top box:
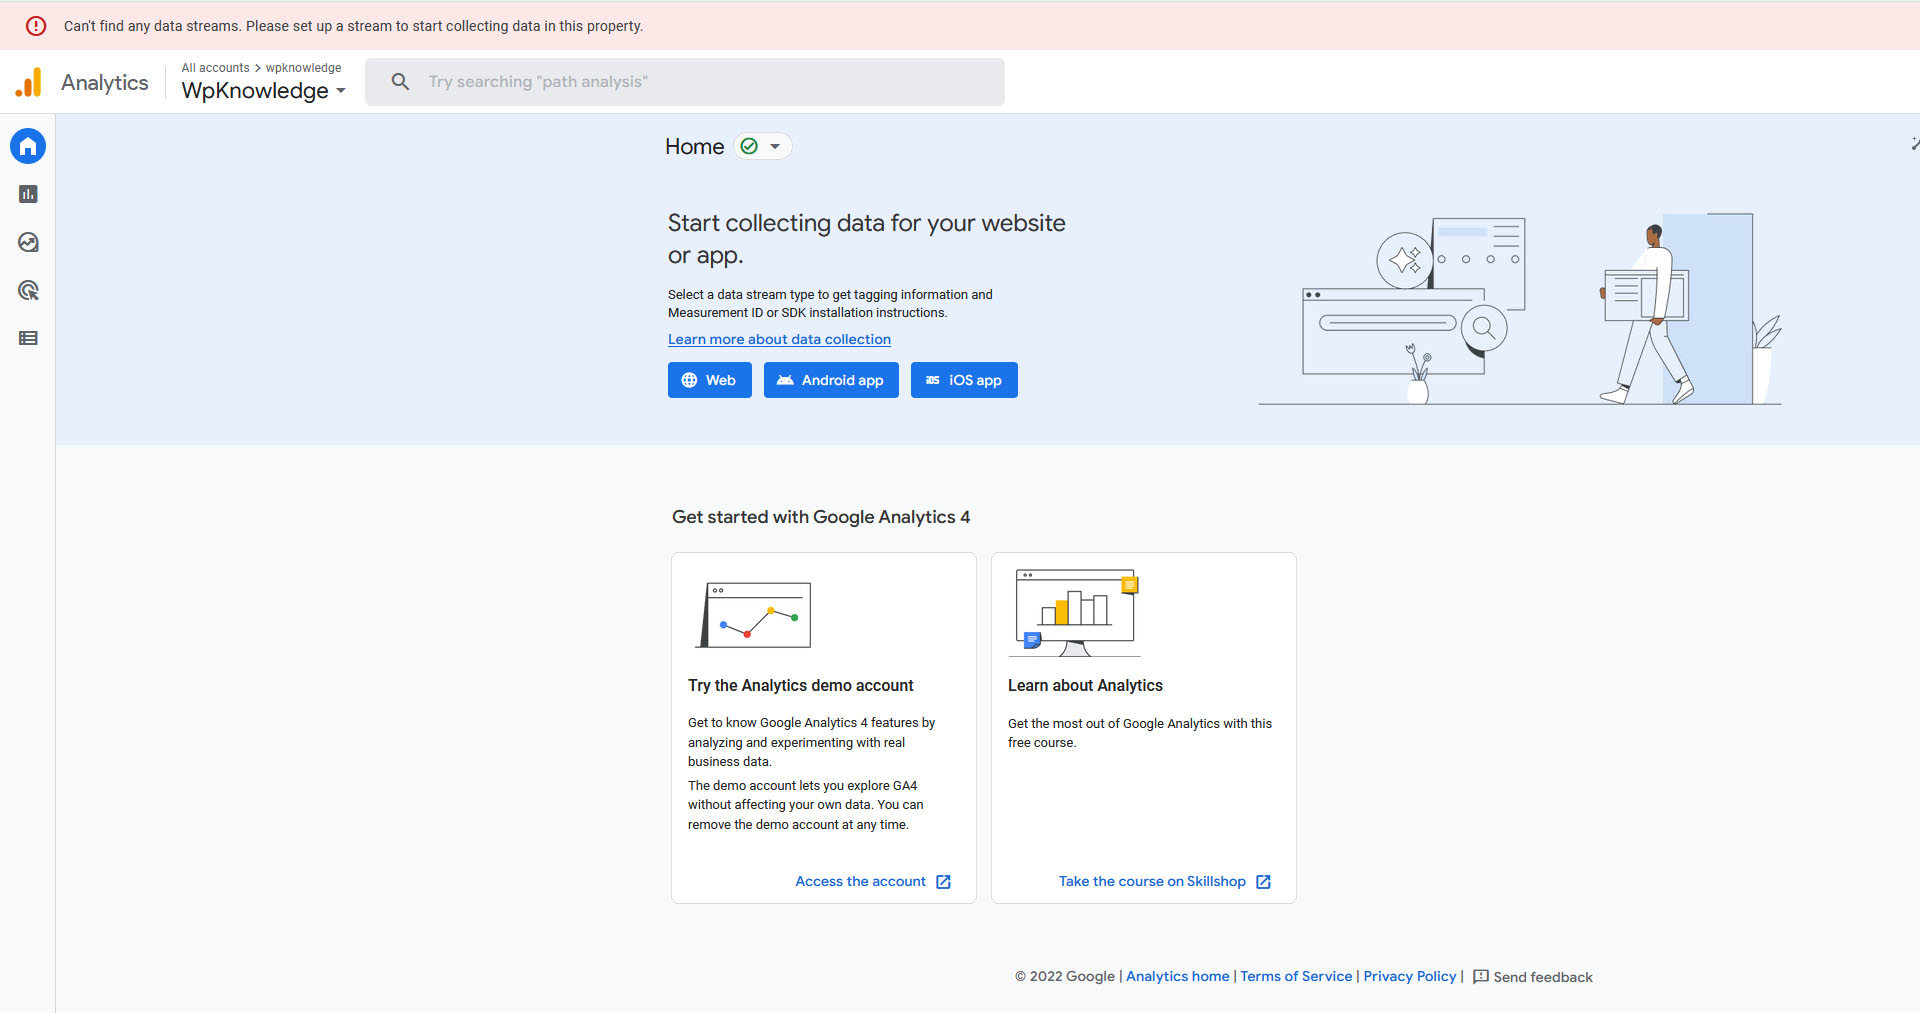
Creating a new DATA STREAM will allow you to collect all sorts of valuable information about your website incluging: page views, scrolls, outbound clicks, site search, video engagement, file downloads, and more!
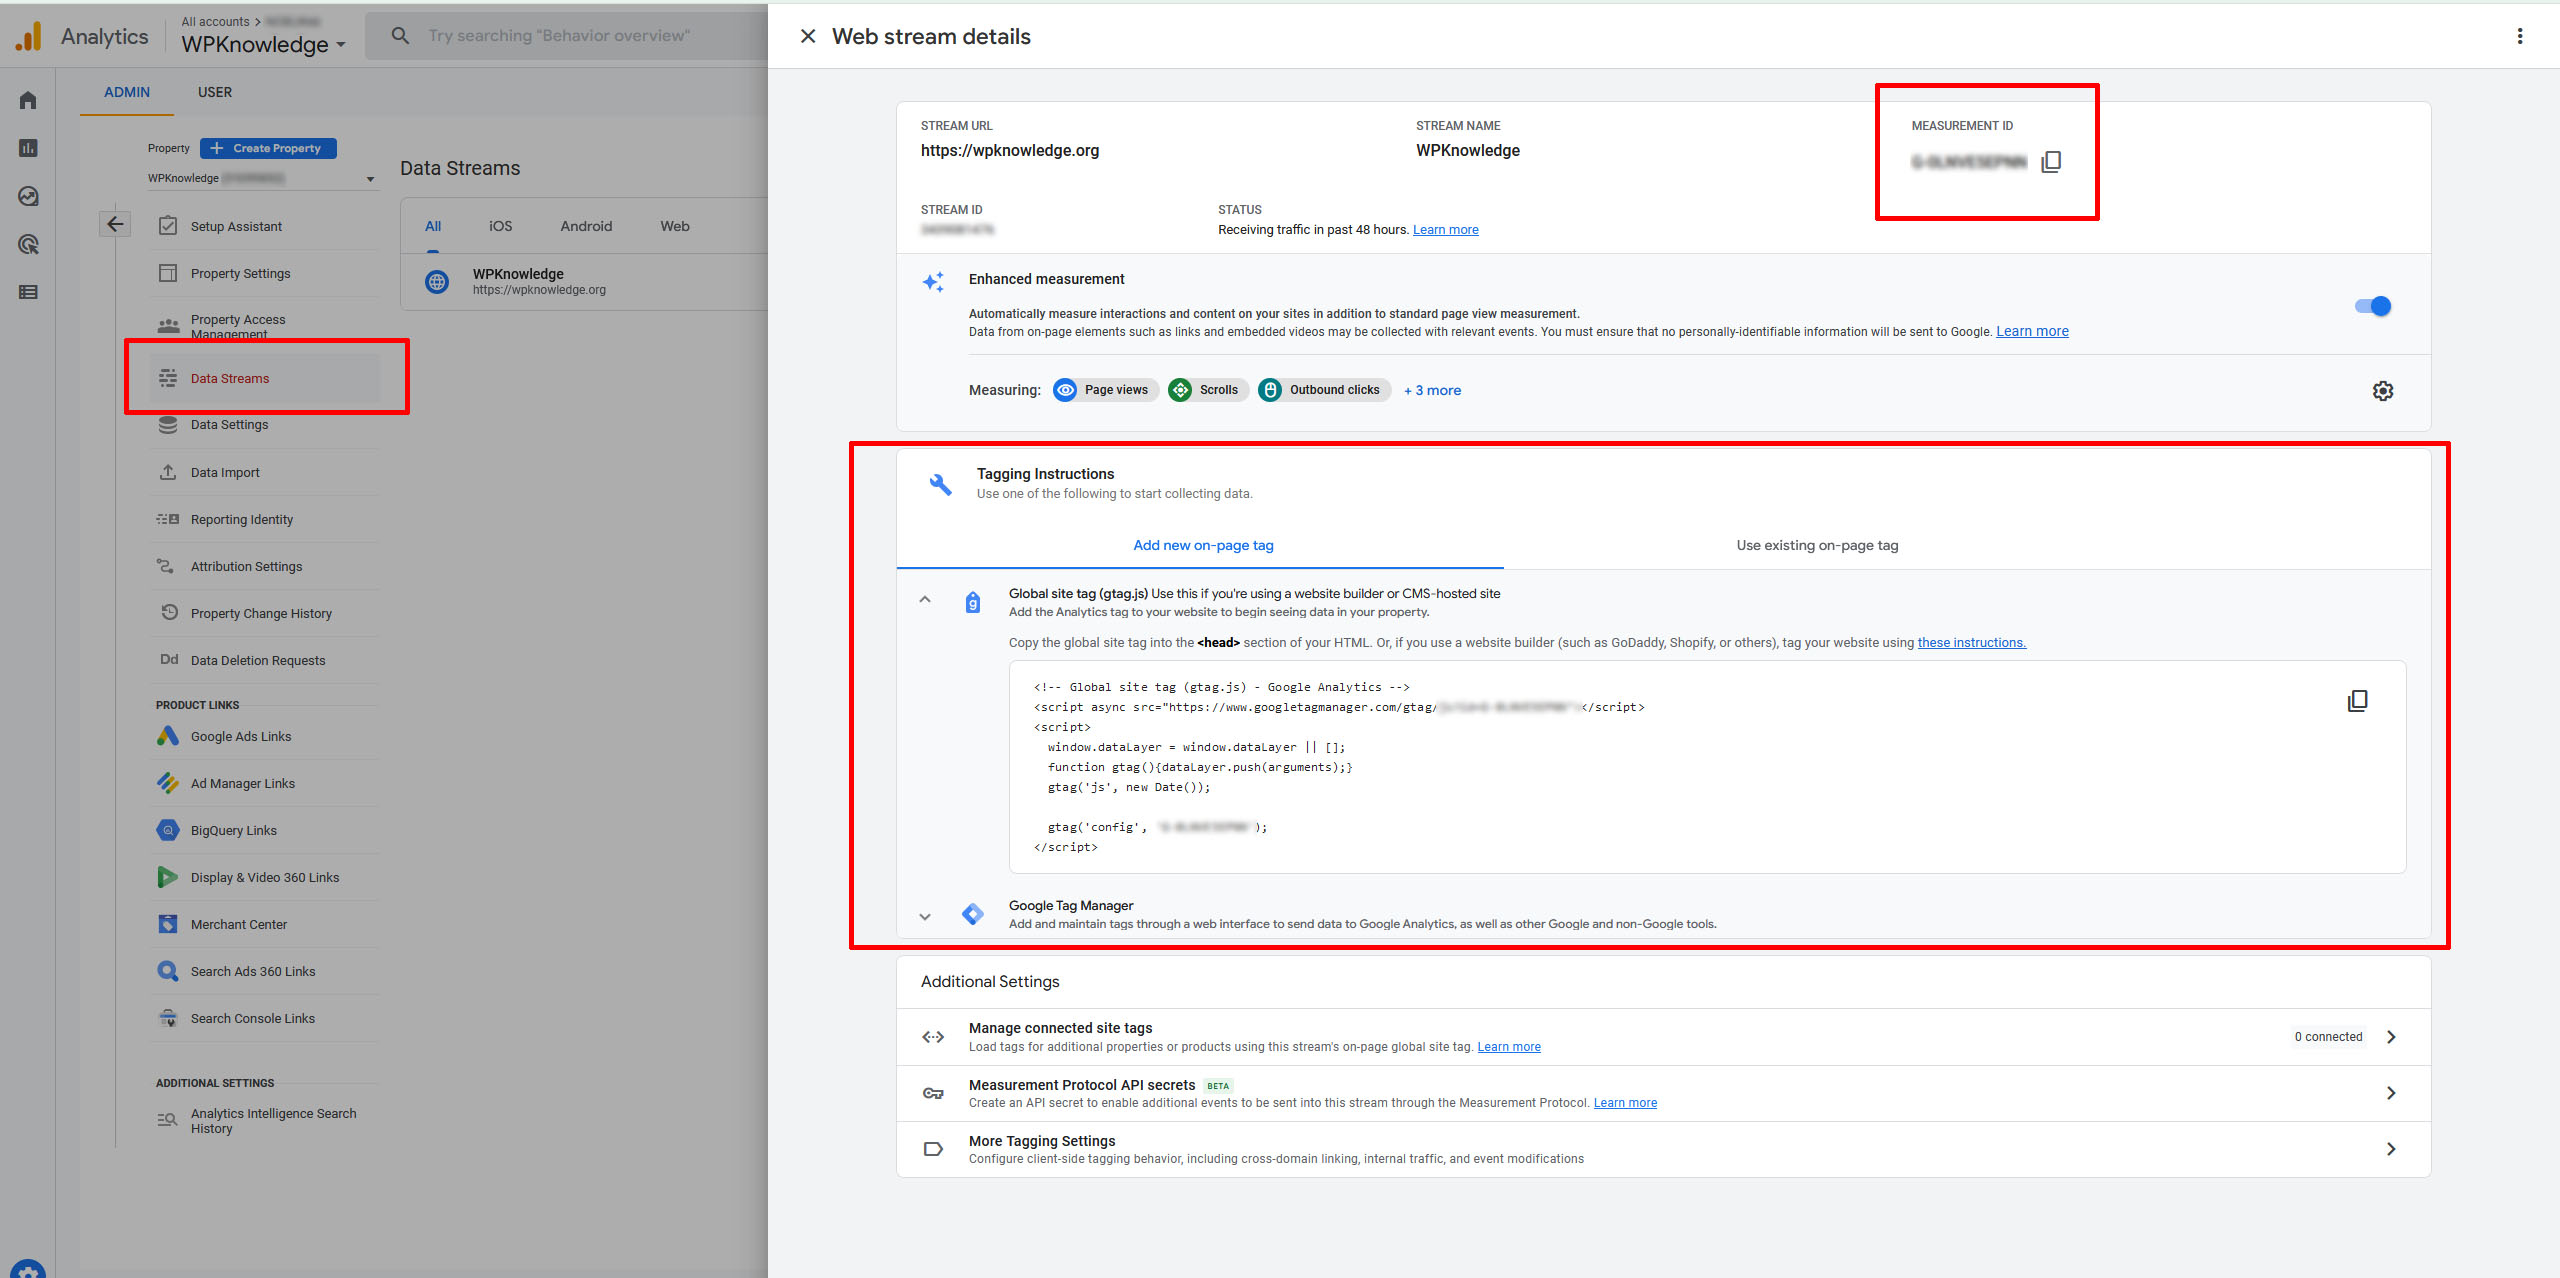
Once you’ve filled out the URL address for your property and completed the steps, your new DATA STREAM is ready to view. You can always find it by clicking the DATA STREAM tab in the left navigation bar. Here, you’ll find your MEASUREMENT ID, and your GLOBAL SITE TAG script:
How to Add Google Analytics to a WordPress Site With a Plugin
The easiest way to add the Google Analytics tracking code to your WordPress site so you can start learning about the people who browse your website is to install the Monster Insights Analytics plugin. Just go to Plugins > Add New > and search for Monster Insights.
The plugin has a setup Wizard that will allow you to simply connect your website by following the steps:
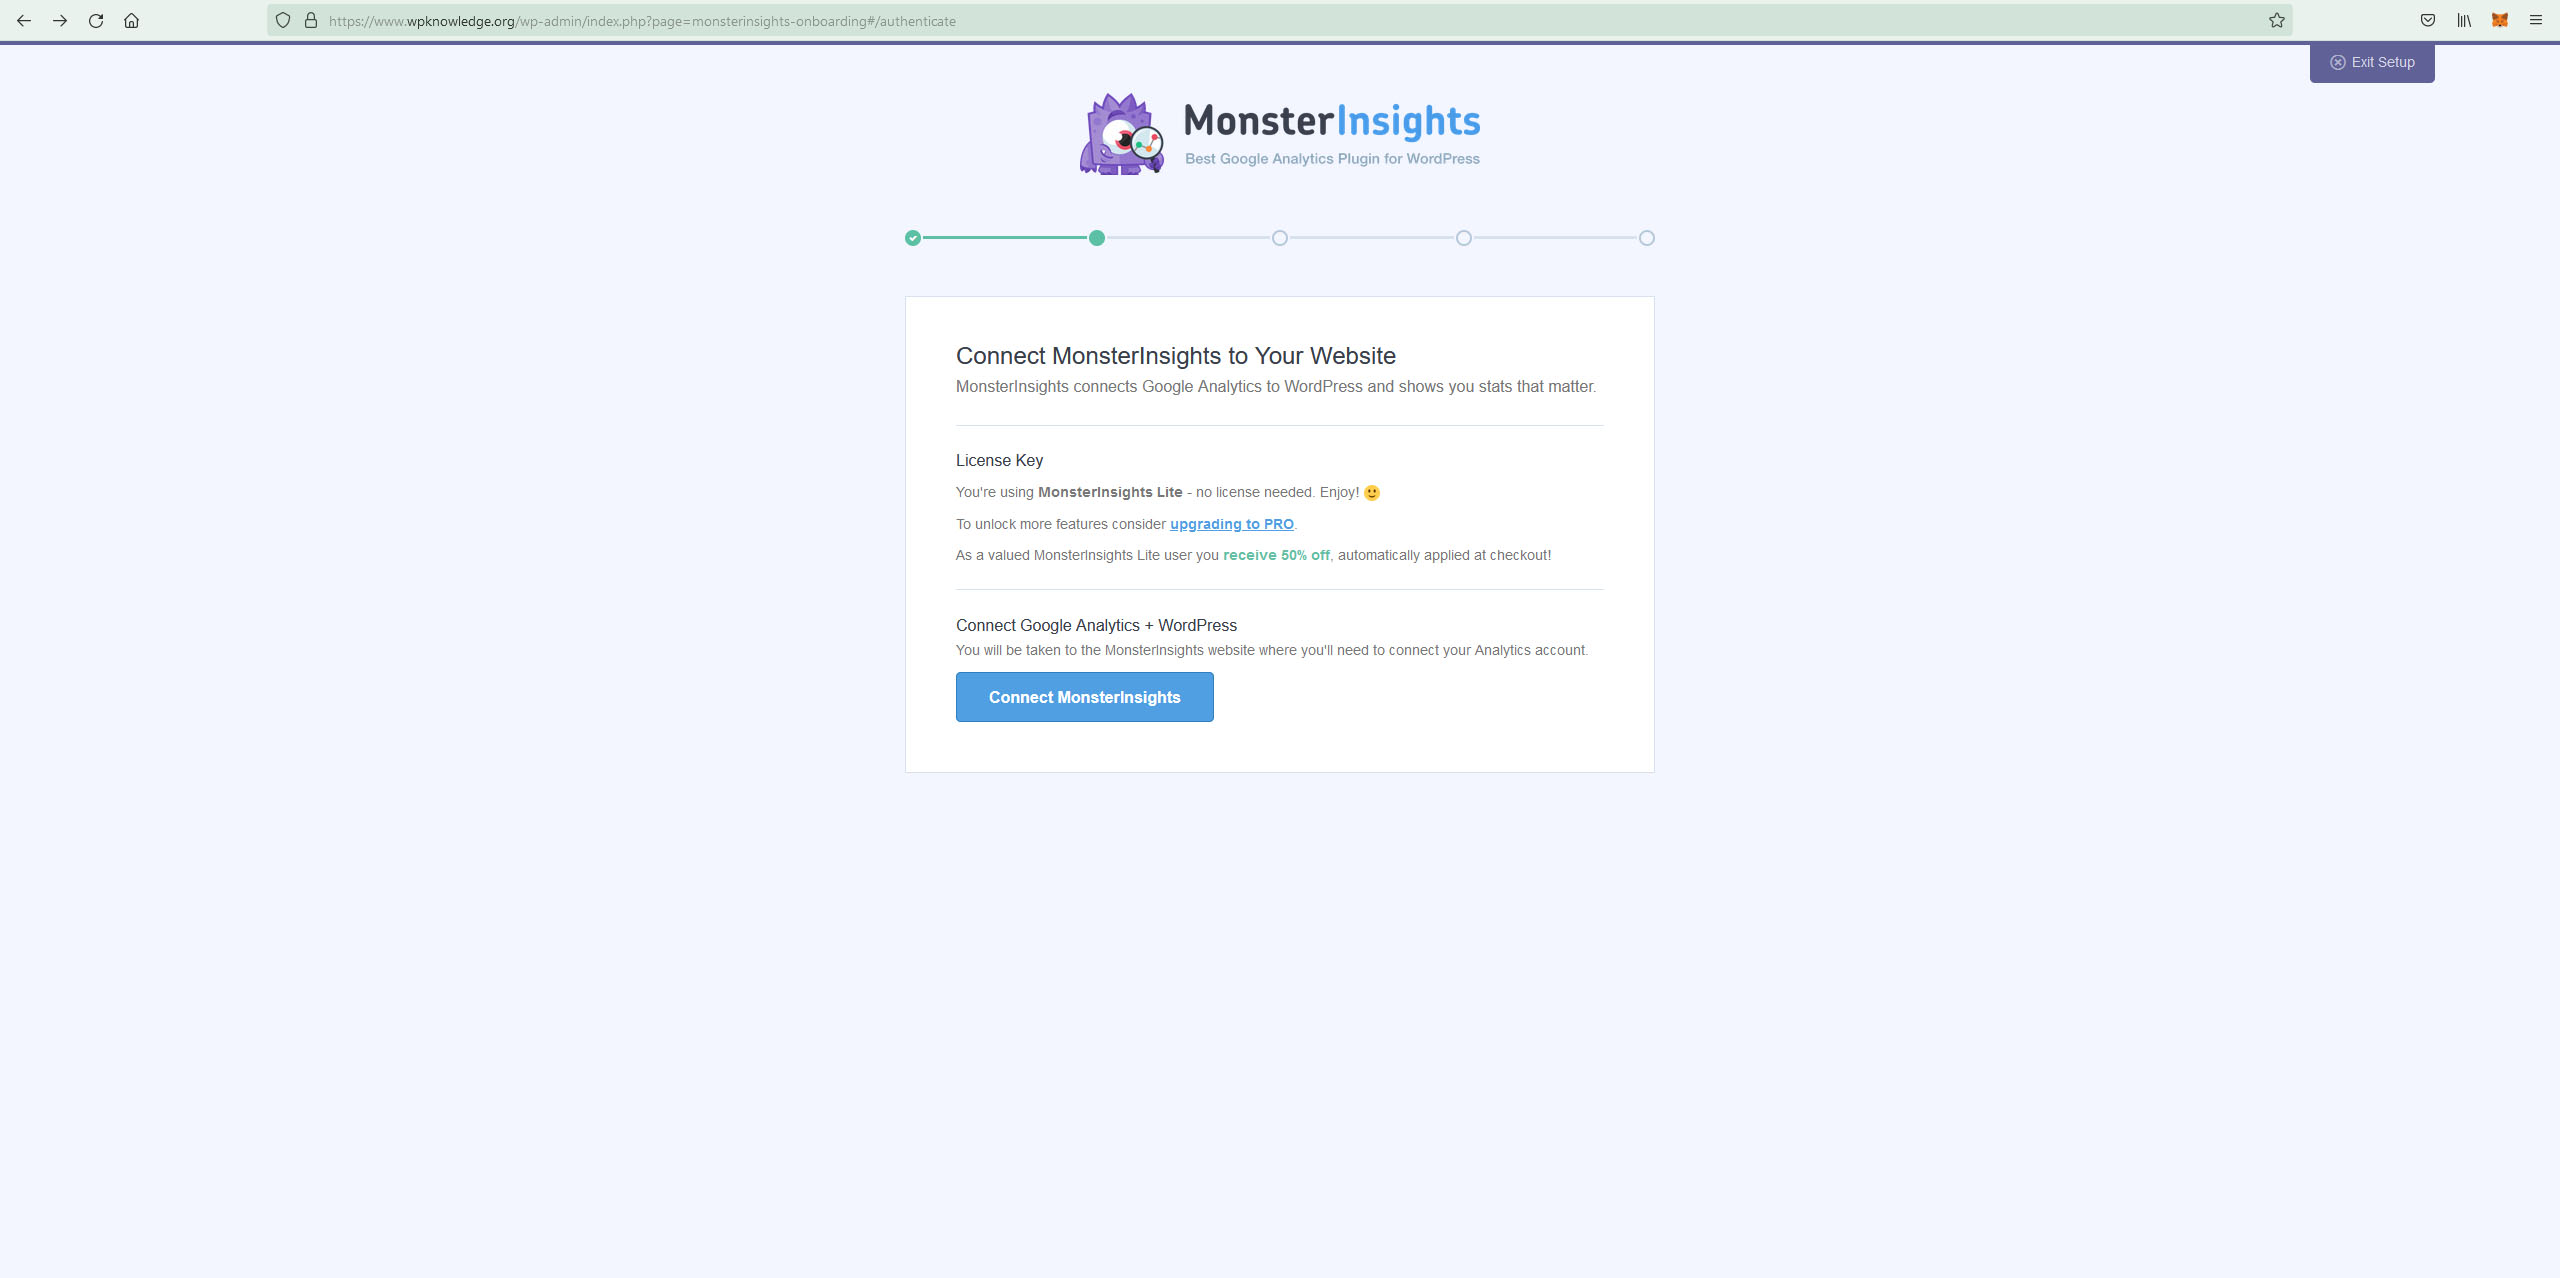
Make sure you complete all the steps. You can skip the extra plugin installs, and the paid upgrade by clicking ‘Skip This Step’ before the final one.
That’s it!
Adding Google Analytics to a WordPress Child Theme
Some plugin heavy sites might not be able to handle additional plugins, so sometimes, Monster Insights is not a valid option. In this case you can still add Google Analytics to your site manually by copy and pasting the Global Site Tag script into your child theme’s header.php template file.
To start, you’ll need to find your Google Analytics tracking code. Open Google Analytics for the site you want to add, then find your DATA STREAM.
In the Google Analytics dashboard image just above the Monster Insights screenshot on this page, you’ll see the Tagging Instructions box with something that looks like this:
<!-- Global site tag (gtag.js) - Google Analytics -->
<script async src="https://www.googletagmanager.com/gtag/js?id=G-XXXXXXXXXX"></script>
<script>
  window.dataLayer = window.dataLayer || [];
  function gtag(){dataLayer.push(arguments);}
  gtag('js', new Date());

  gtag('config', 'G-XXXXXXXXXX');
</script>
* In this example, G-XXXXXXXXXX is just a placeholder for your personal code!
If you’re already using a child theme, go to Appearance > Theme File Editor > and click on header.php. Here, you’ll want to paste the code above just before the closing </head> tag:
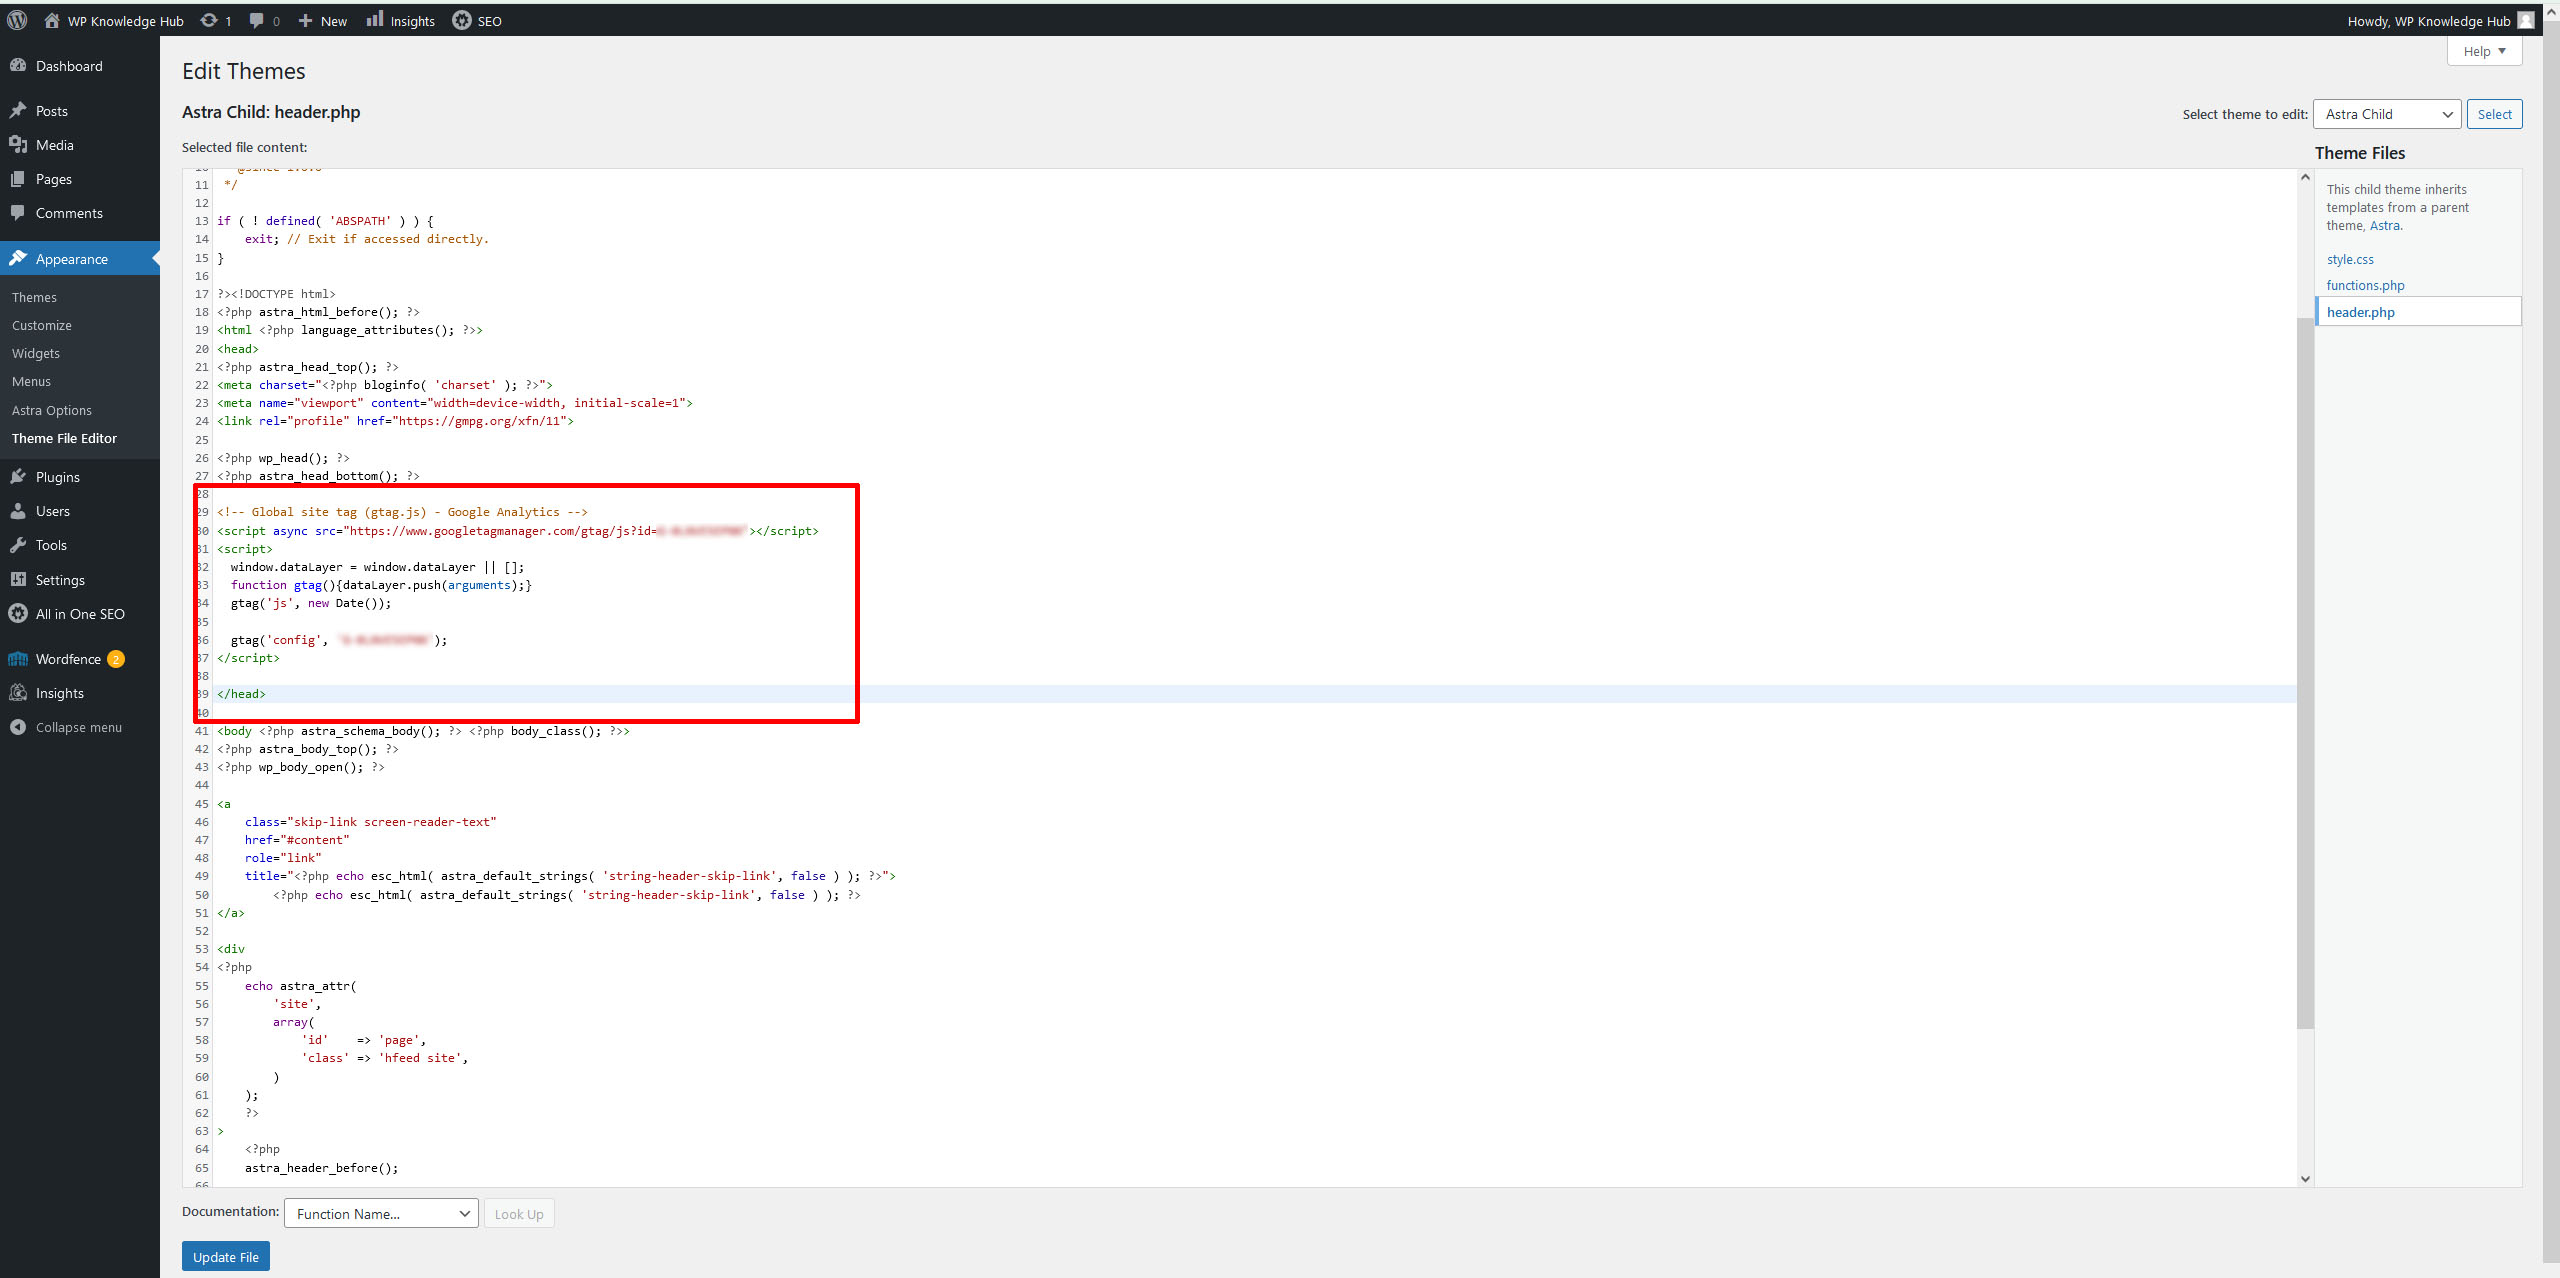
If your child theme doesn’t have a header.php file, or if you don’t have a child theme yet, please follow out tutorial on How to Create a Child Theme in WordPress.