Last Updated on April 24, 2022 by WP Knowledge Hub
What is a Multilingual WordPress Website?
A bilingual or multilingual WordPress website is a site that has the same content available in multiple languages. Since WordPress is the most popular CMS in the world, powering almost 40% of websites on the internet as of 2022, it makes sense that it would need to serve a wider audience, one that is not just English speaking.
Translating the actual CMS is not hard, since there are language settings in the WordPress settings. But translating content is a different story.
That task can be quite tedious, but luckily there are plugins that allow you to simplify this. The fastest and easiest way to translate content is by using the WPML plugin. WPML uses an Advanced Translation Editor which let’s you choose wether you want to manually translate parts of your content, all of your content, or if you want to auto-translate the website for a small fee (and I mean small! An 20 page website with about 500-1000 words per page cost me less than 10 dollars at the time or writing).
It goes without saying that manually translating your content is a safer approach. This allows you to manage quality throughout the website but it does take a significantly longer time than clicking a single button!
Create a Multilingual WordPress Website Using WPML
WPML stands for WordPress Multi-lingual and is the original and most popular WordPress translation plugins.
To start, you’ll need to purchase, install and activate WPML. WPML offers straight-forward pricing for businesses and agencies looking to build multilingual WordPress sites easily. All the account types include support and updates for a year and if you’re not satisfied, they have a 30 days money-back guarantee.
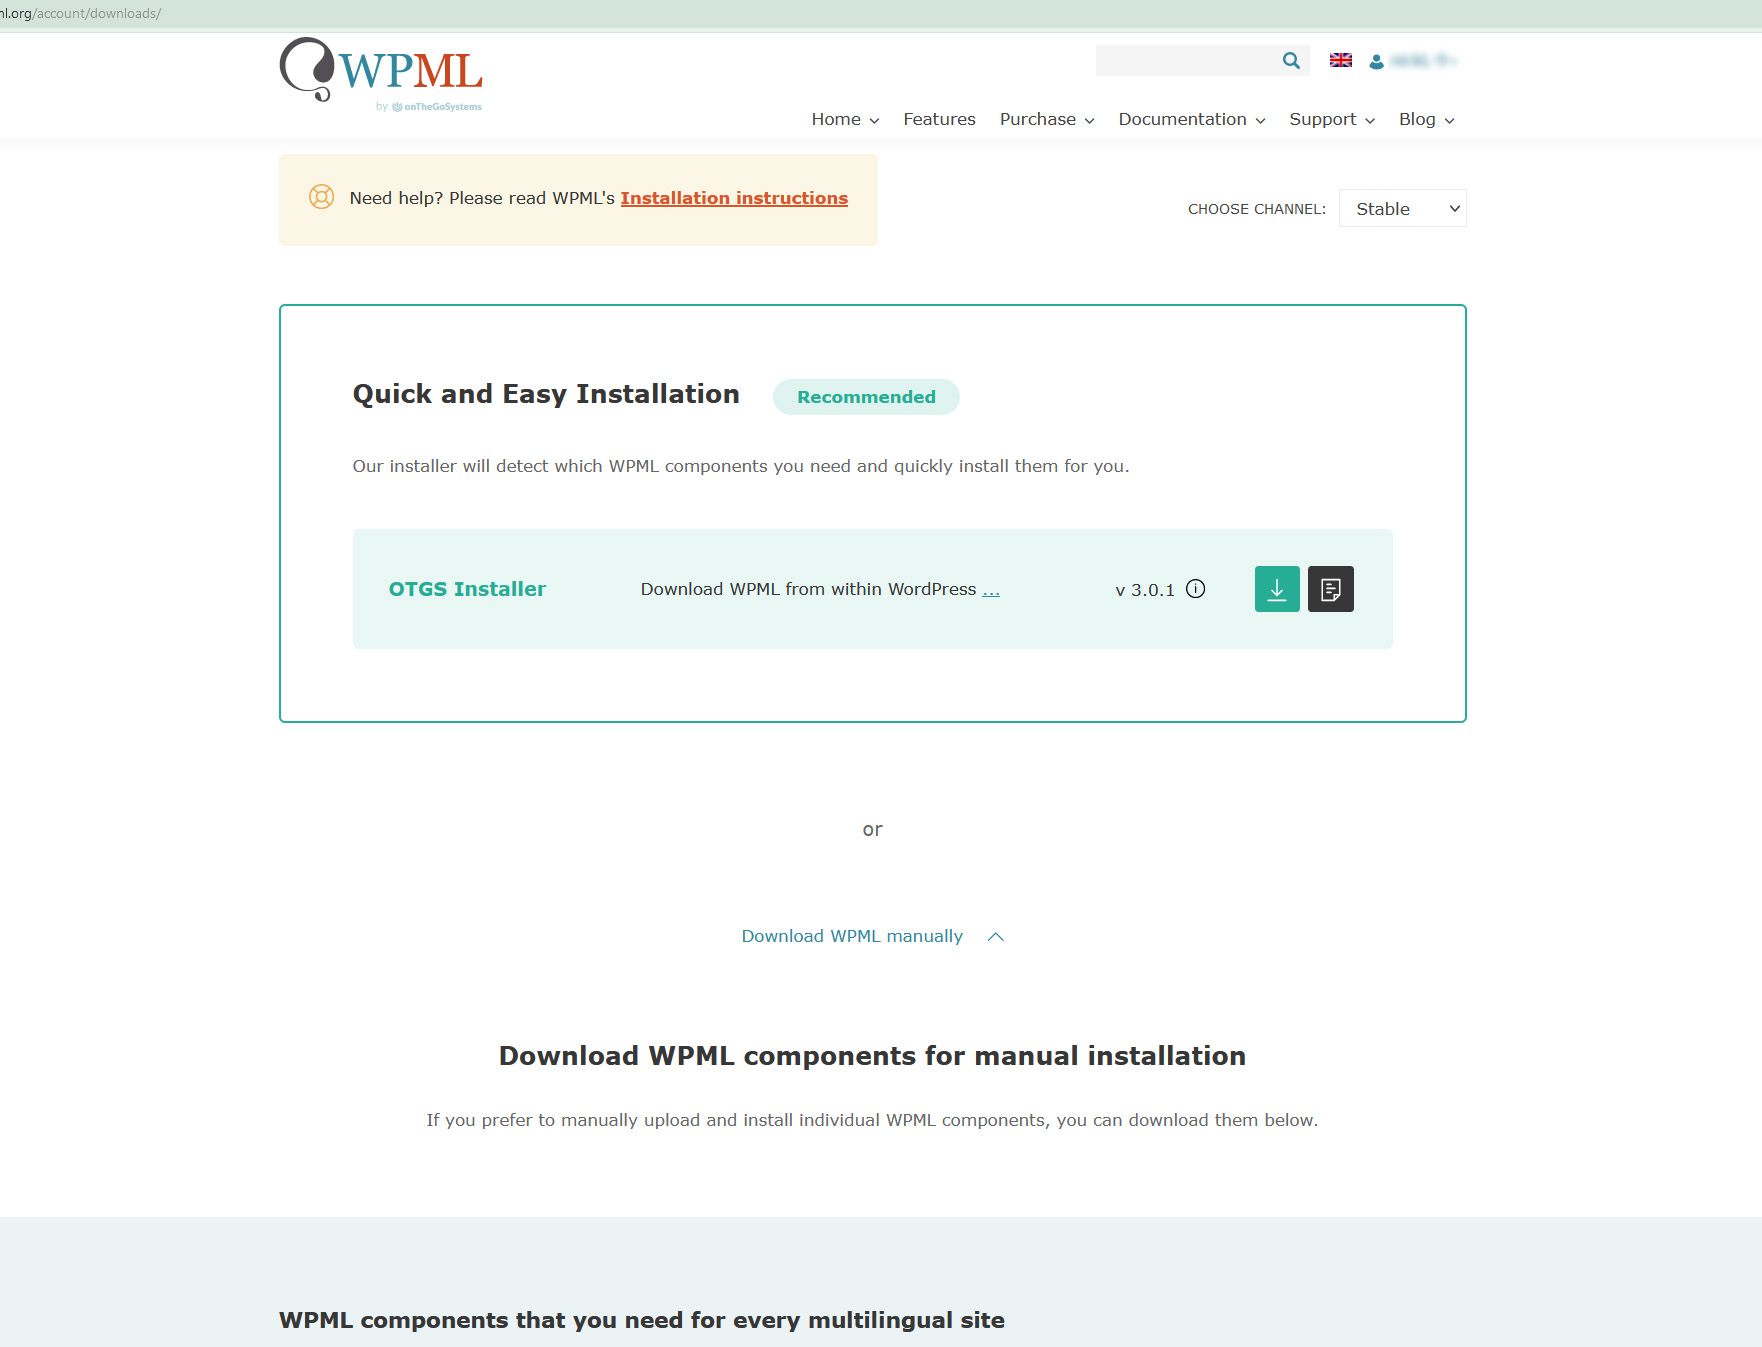
Once you’ve purchased it you’ll need to log into your account and go to Downloads. Here you can see that they offer two choices. You can download and install an OTGS plugin that will automatically detect which components your website needs, or you can choose to manually download each component manually. The choice is yours:
You will need to go to your WordPress dashboard, click on Plugins > Add New > Upload Plugin, and install the package you chose.
After that you are ready to start the setup!
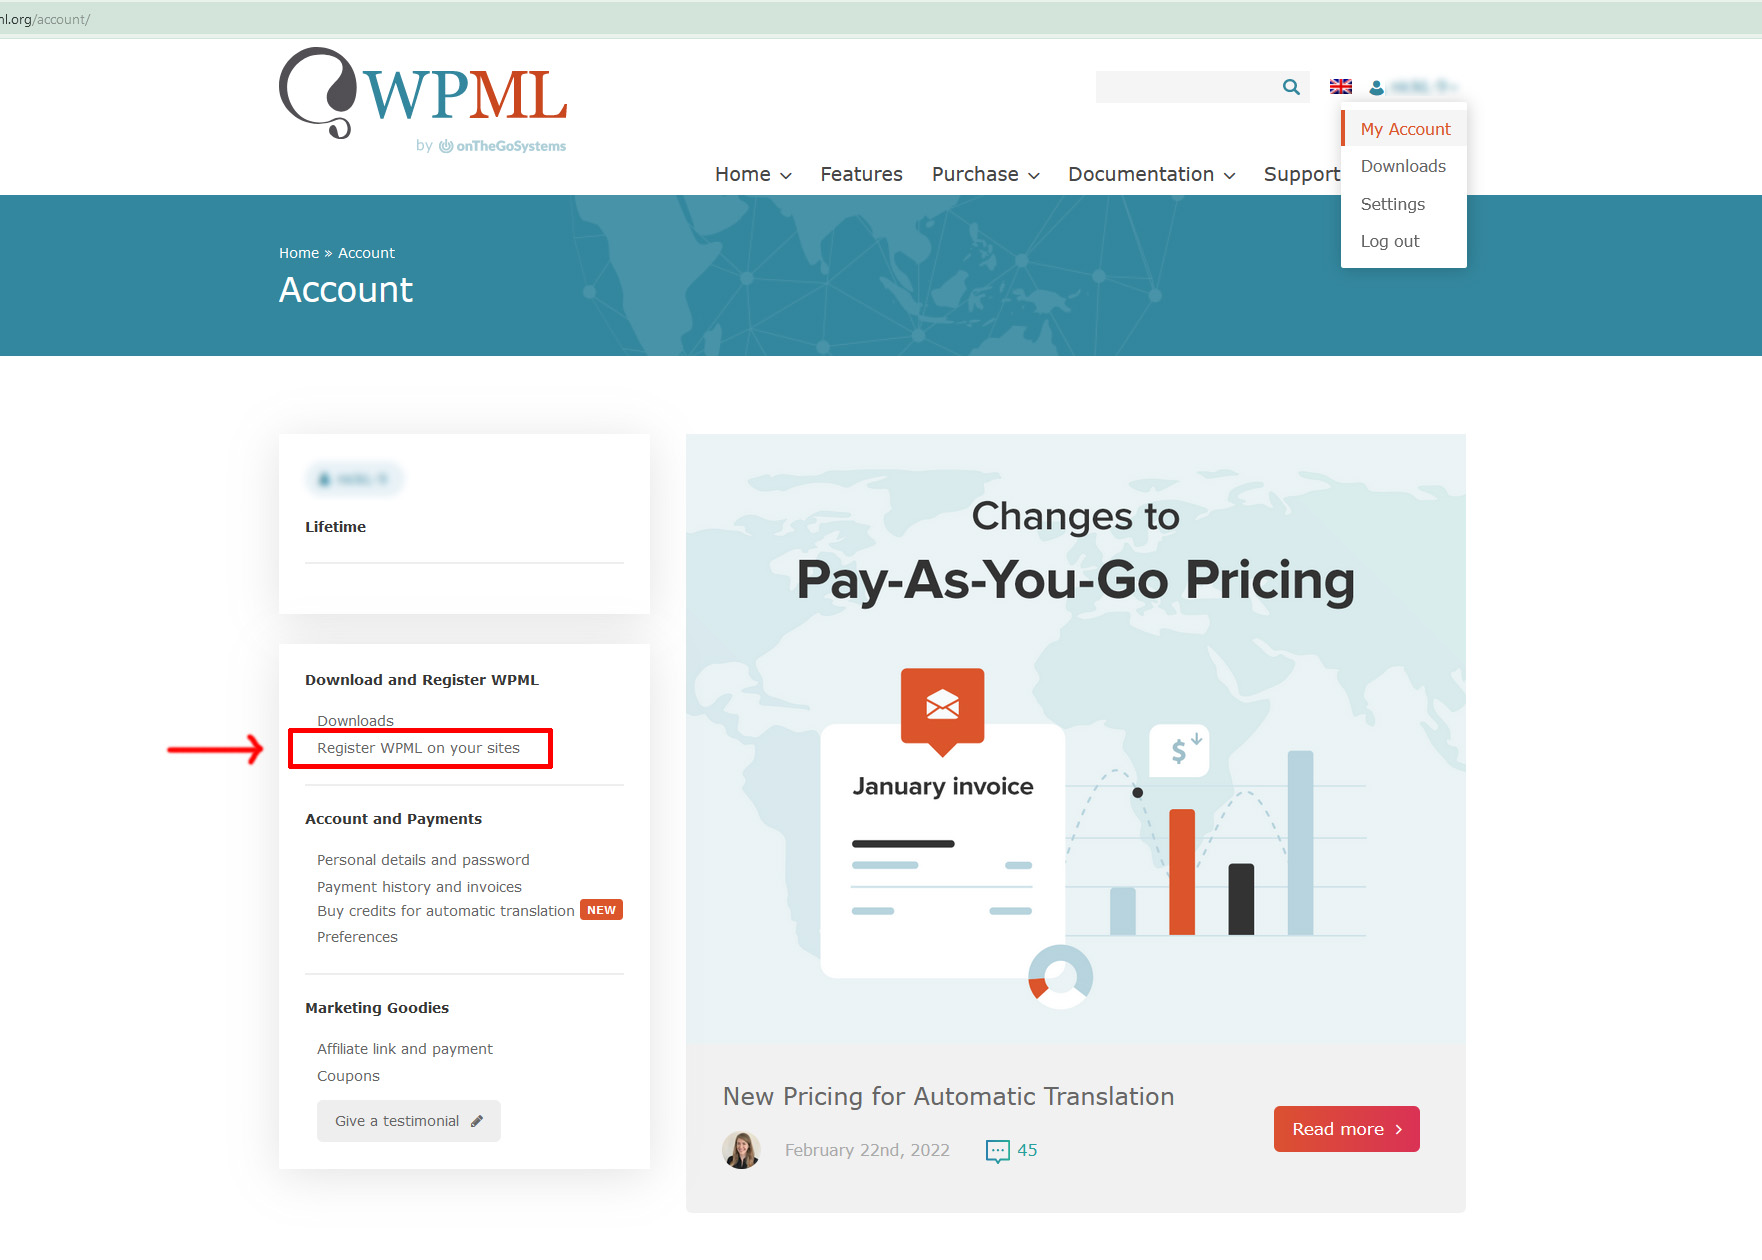
Before you start the setup, though, you’ll need to register your site on your WPML account. Login to your WPML account and in the top-right corner, click on your username and select Account > Register WPML On Your Sites:
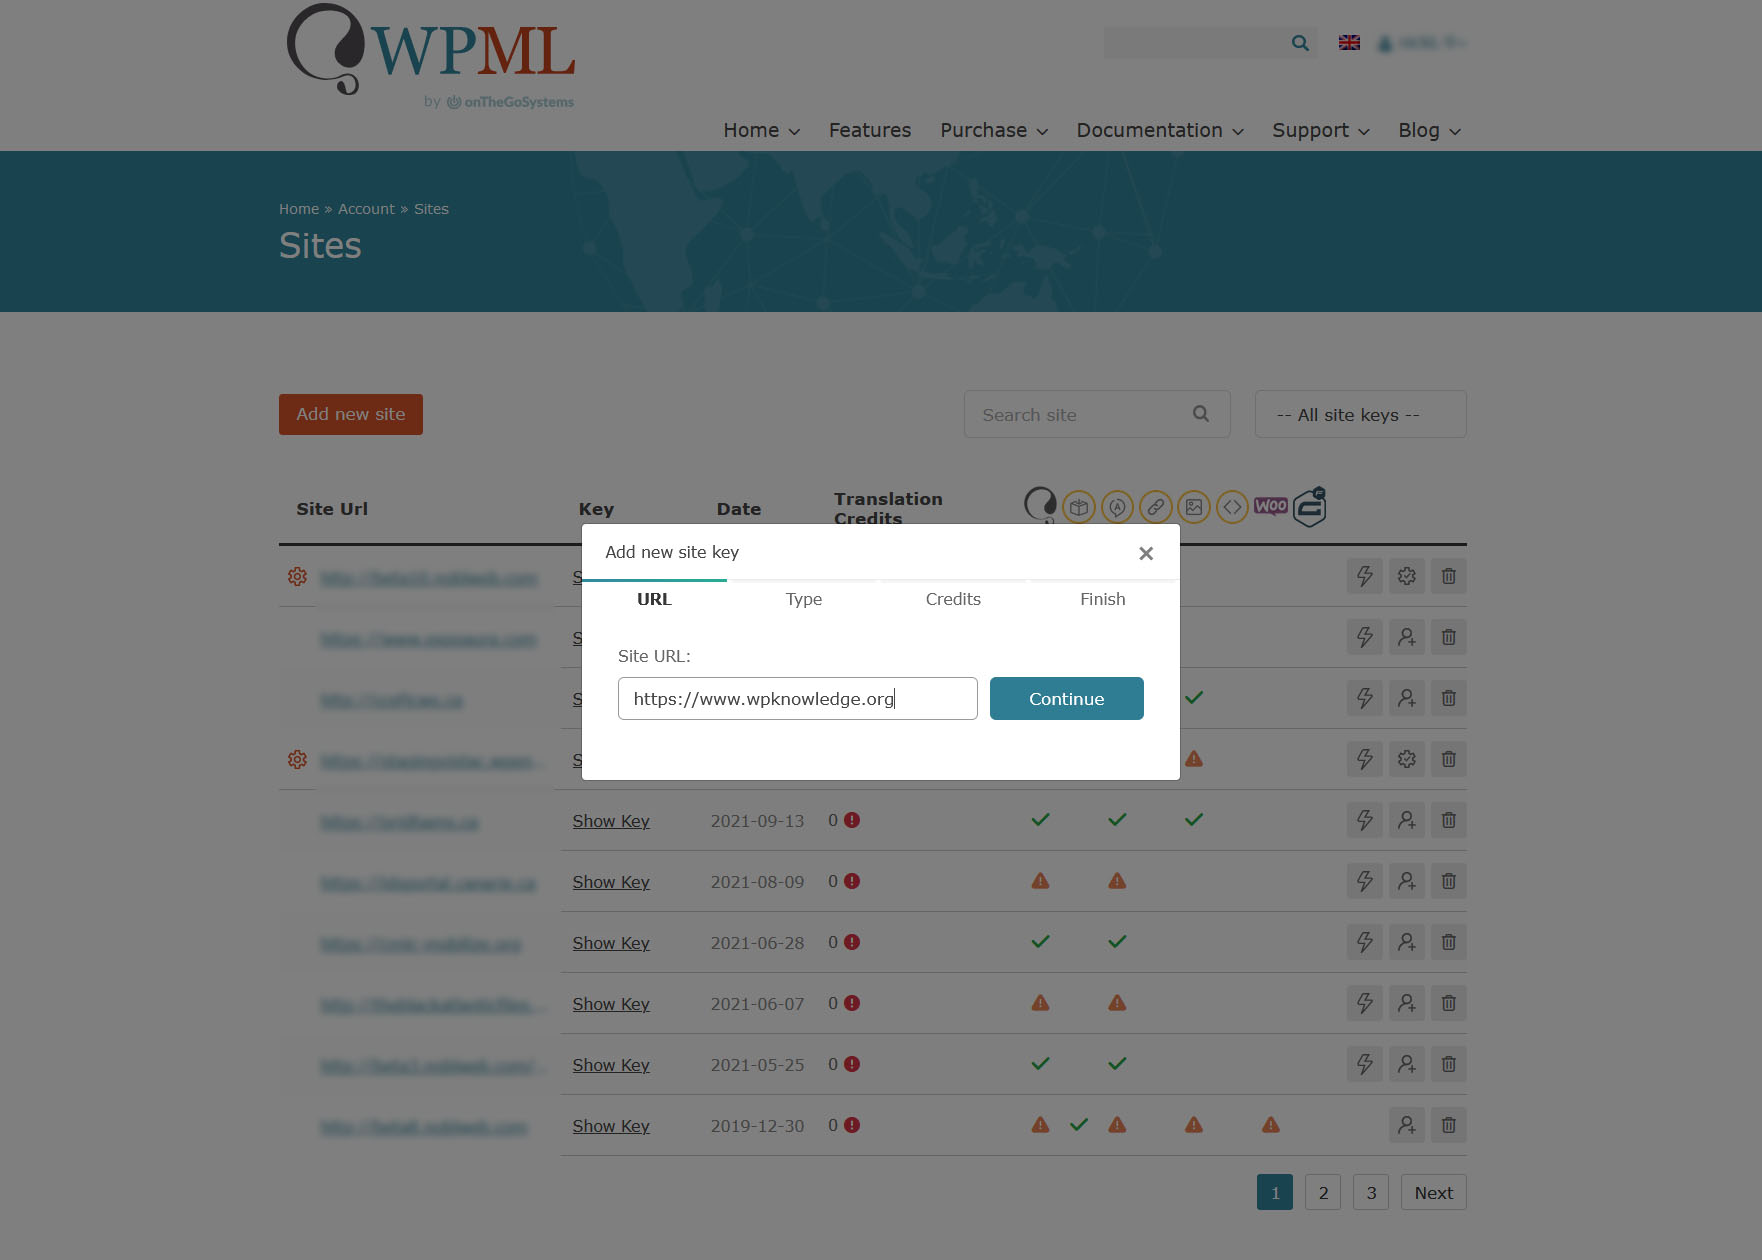
This will take you to a screen where you will be asked to register your website URL. Doing so will take you through a few steps. Enter your website URL, select the type of environment, select the number of credits you want to associate to this site (more on credits below – type 0 if you’re unsure right now), and then you will receive a special site KEY. This key is what links your website to this account.
Once your site is added, you can click on it to get to your site key. Copy and paste this key into your WordPress site under WPML Installer in your WordPress dashboard sidebar.
Now you are ready to click the blue button below and start the Wizard. The setup Wizard will ask you a series of question about how you want to setup the translation content. It will ask you what the default language is, what your second or other languages will be, confirm your site KEY, and most importantly, it will ask you HOW you want to translate content.
Adding Multilingual Content into WordPress with WPML
Choosing to automatically translate content will cost credits. If you just purchased WPML, you should have some credits associated to your account. You’ll probably have 90,000 credits and translating a post requires (very roughly based on my approximate calculations) about 1.25 credits per word. Translating a 350 word post requires about 450 credits.
Creating Multilingual Posts and Pages
Translating your content is very simple once the initial setup is completed! All you have to do is go to Posts or Pages and click the little + icon beside the item you want to translate to start a new translation. The little gears icon means that a translation is already in progress but incomplete:
Once you click on the little + icon, you will be prompted to translate each sentence, heading or paragraph individually. You can either click the Translate Automatically button at the top if you have enough credits associated to this website, or you can simply copy and paste each equivalent in the appropriate place:
As you save each individual line by clicking the little checkmark next to it, you’ll see the progress bar increase at the bottom. When you reach 100% you can complete and save and publish the translation. The translated page can now be seen live on the front-end of you website if this page is published.