Last Updated on April 24, 2022 by WP Knowledge Hub
How To Add Events To WordPress
The Events Calendar Setup Guide
This plugin is totally free and it also has a responsive design, built-in tooltips, venues, advanced search functionality, maps integration and more. The Pro version also has more features and add-ons if you need extra functionality.
Install the Events Calendar Free WordPress Plugin
- Open your WordPress dashboard, then go to Plugins > Add New.
- Search for “the events calendar“. The first result will (probably) be The Events Calendar by Modern Tribe.
- Click the install button, then activate it.
Once you’ve done that, you can get started on creating new events! You can now find the Events tab in the WordPress Dashboard sidebar.
Configure Your Events Calendar Plugin Settings
To get started on changing your Events Calendar settings, go to Events > Settings.
*image showing the settings of the plugin in the dashboard*
On the General tab, you’ll find options for the number of events displayed per page, an option for displaying your events on your main blog page, and a few options for setting your time zone. There’s also some options for Maps, and custom URLs, but you most likely won’t need that.
The Display tab is where most of the changes you might make will occur. Here you can set your CSS styles (how it will look), how it displays (list, month view, week view, etc.), set your date format, write HTML above or below the calendar if you need to add a page title for example, etc.
Adding Events to WordPress with the Events Calendar
Once your settings are up-to-date, go to Events > Add New.
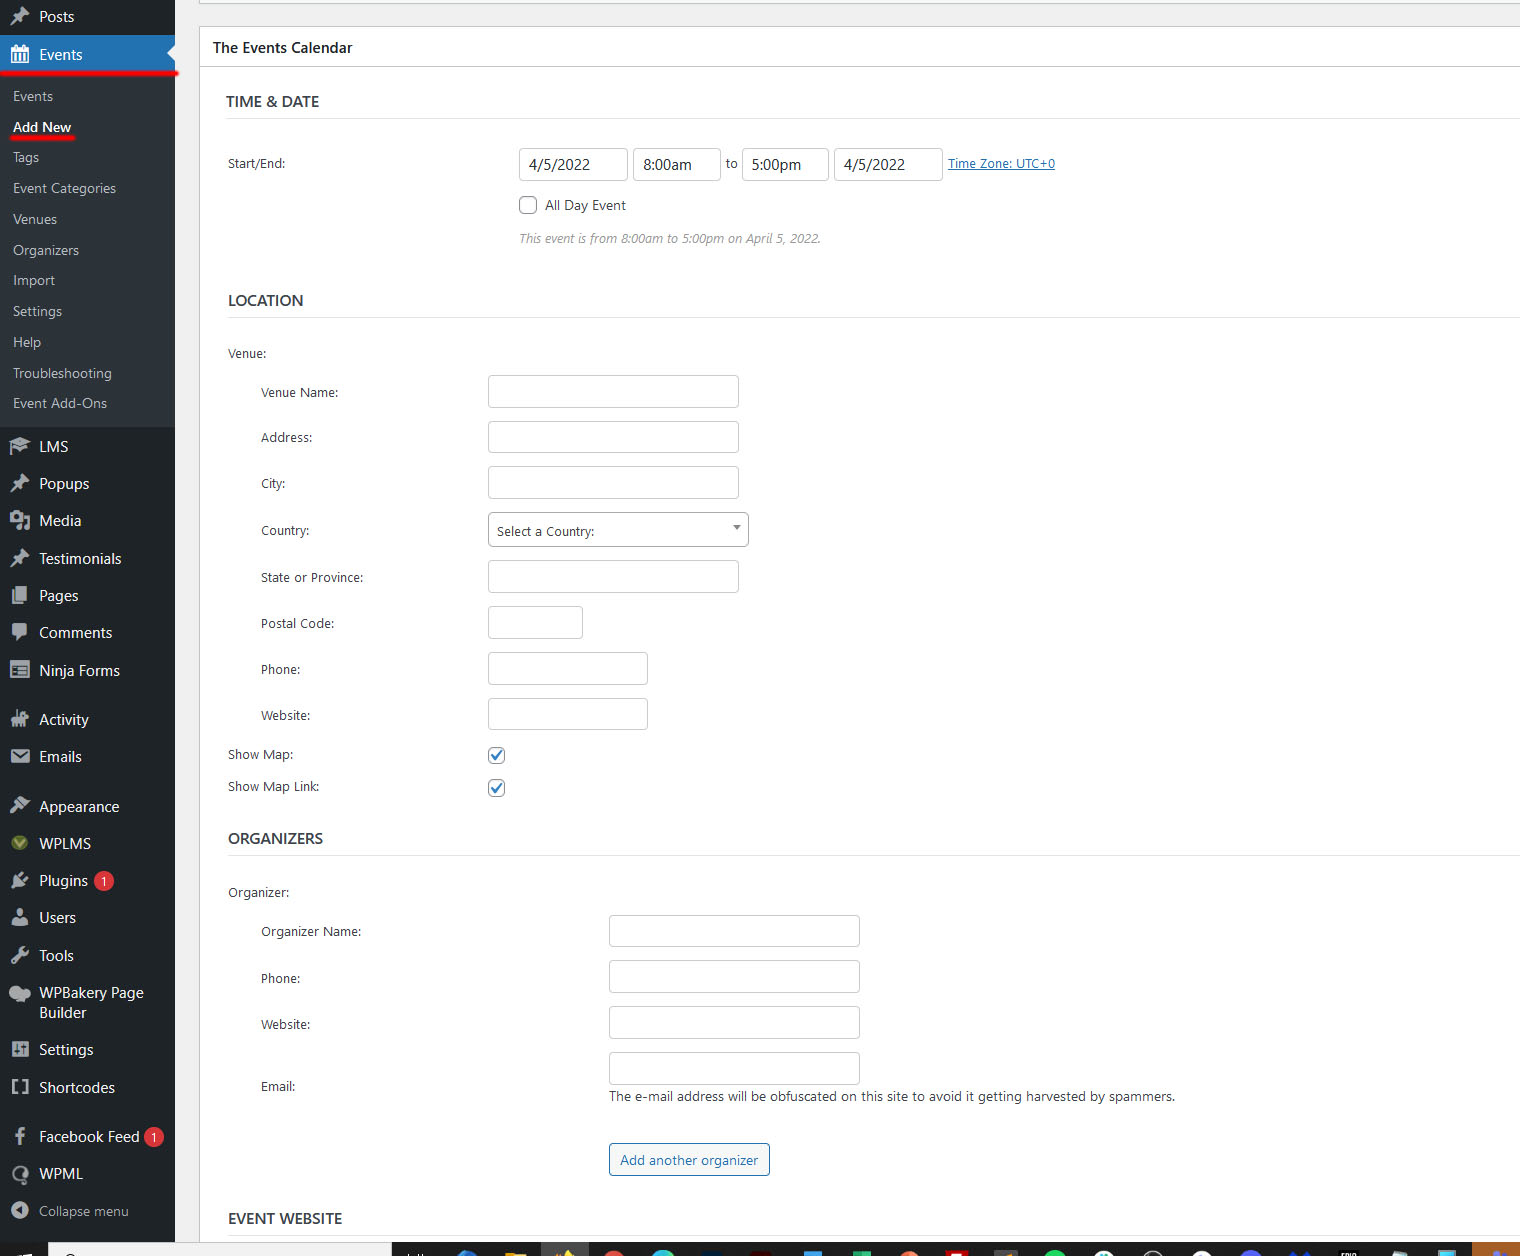
There’s nothing sinister about adding new events with The Events Calendar. Simply go through each option and add the appropriate information.
You can add your start and end times, the location of the venue (you can save this information to re-use it for other events), the events website and more. It’s super easy!
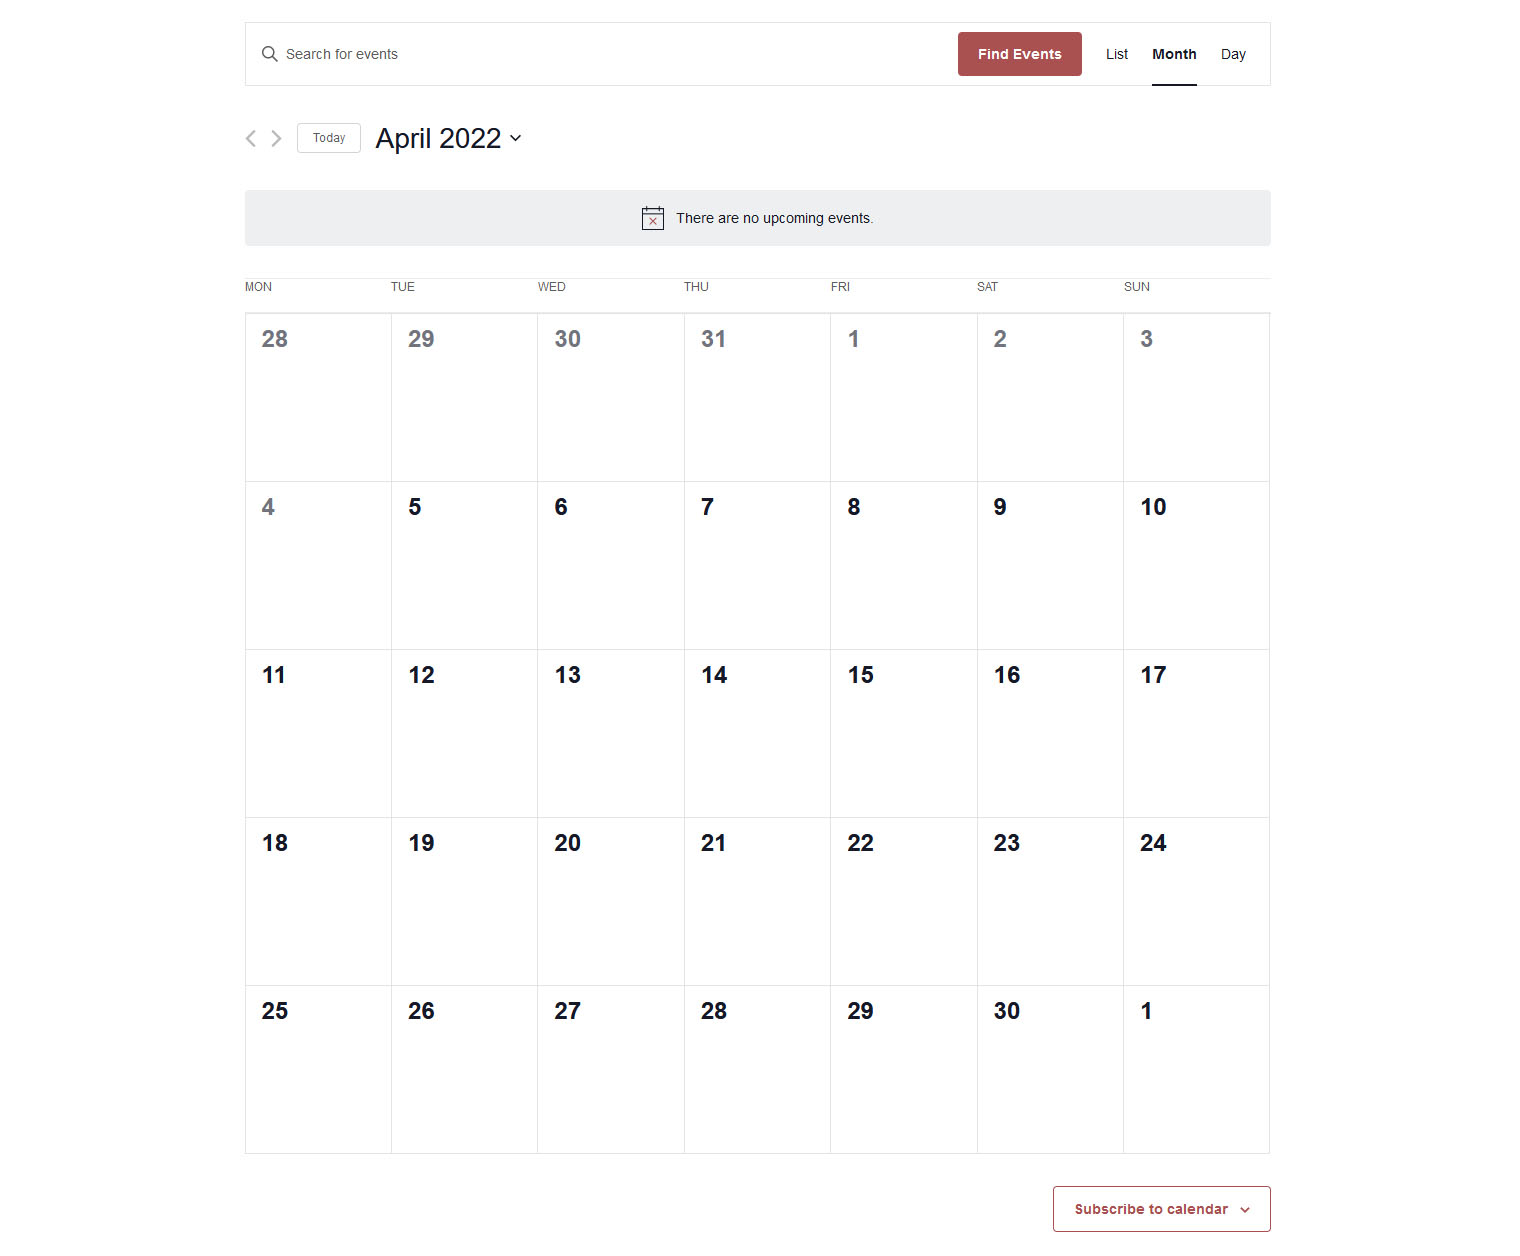
Once you have added all your event information, you should be able to go to your site’s event page at YOURDOMAIN.COM/events to view the events you created.
Feel free to add a link to your events page in your site’s navigation by going to Appearance > Menus > and add a Custom Link with the URL /events and the Link Text Events (see below).

Premium Add-Ons and Extensions
The free version of Events Calendar is fantastic and offers almost everything you need out of the box, but sometimes you might need a bit more advanced functionality. There are several add-ons available for the Events Calendar (including a Pro upgrade) which you can see under your WordPress dashboard in Events > Event Add-Ons.