Last Updated on April 24, 2022 by WP Knowledge Hub
In order for your WordPress website to look more professional, you have to use custom fonts. Many themes come with a list Google Fonts pre-installed, but if you want to use very specific custom ones, you have to manually add them to your child theme.
Where to Download Web Fonts for WordPress?
There are lots of sites where you can get free web fonts. The best and easiest option, is Google Fonts which has over 1000 font families, and the other option is to use Font Squirrel. Here, you can also find free fonts that are licensed for commercial work. The last option is to use a font plugin, but adding more plugins isn’t always the best solution. Remember that each plugin you install can slow down your loading time.
Of course, those aren’t the only options, but for the sake of simplicity, these are the best options.
How To Use Google Fonts to Add Custom Fonts to WordPress
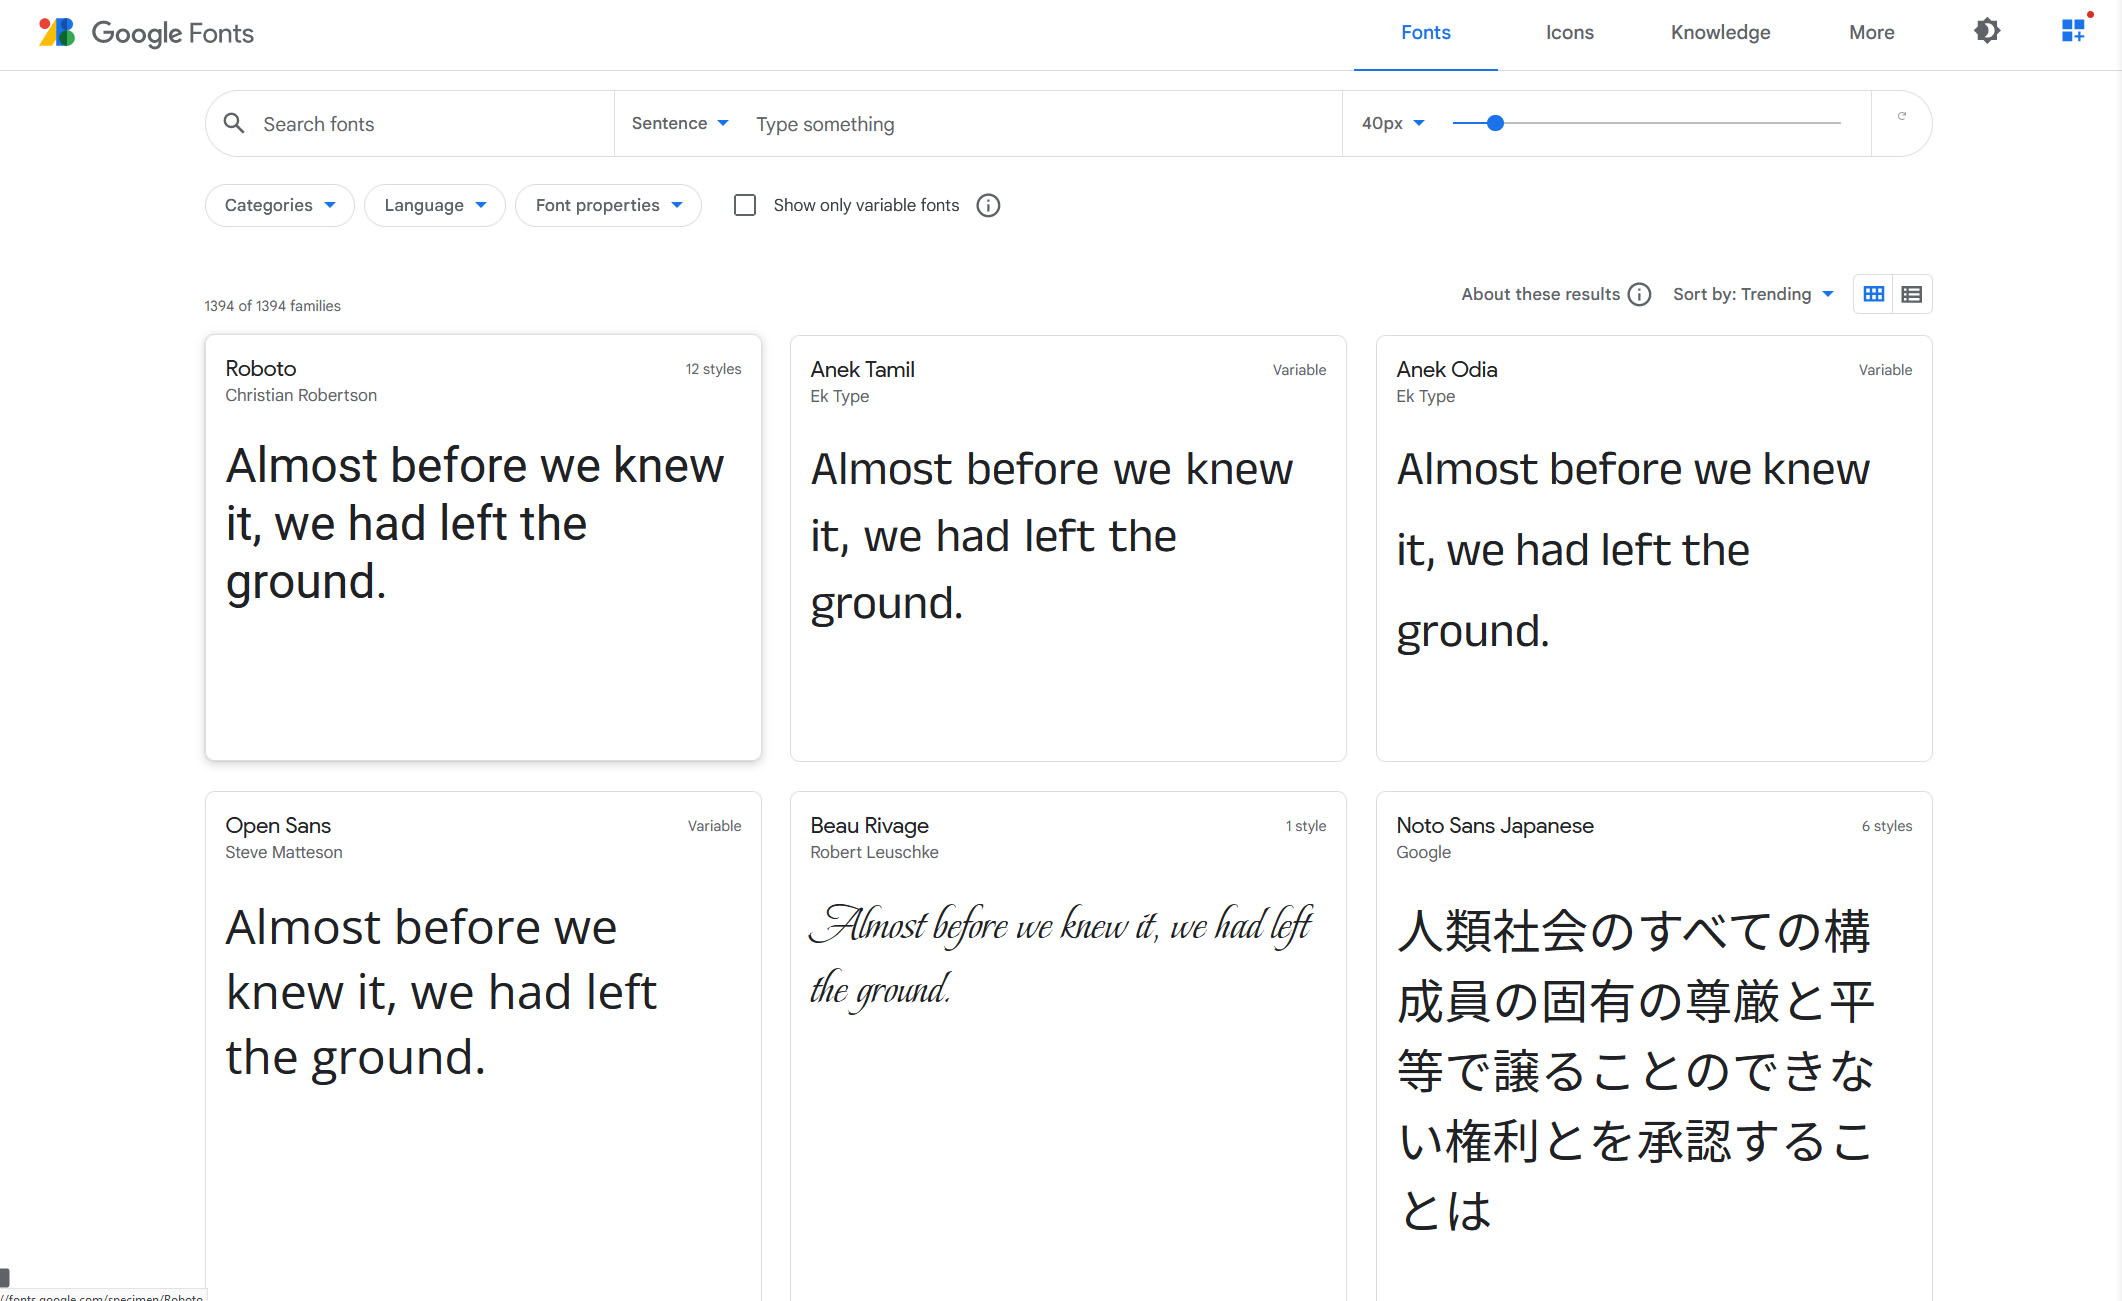
Go to fonts.google.com and select the font you want to use. Google fonts has lots of search filters to help you find the exact font you’re looking for. In this example we’ll be using Roboto.
Select your font by clicking on the font family box.
Next, choose the styles you want to use carefully. I say carefully because the more you choose, the heavier the download for the user. Remember, when a user visits your site, he has to load these custom fonts on his end, therefore the smaller the file, the shorter the loading time.
Once you’ve chosen your styles, you can open up the Selected Families box in the top right corner. Here you have two options. You can either use the available links to add them to your child theme, or you can download the fonts locally to your computer. If you don’t have a child theme, I recommend that you start here!
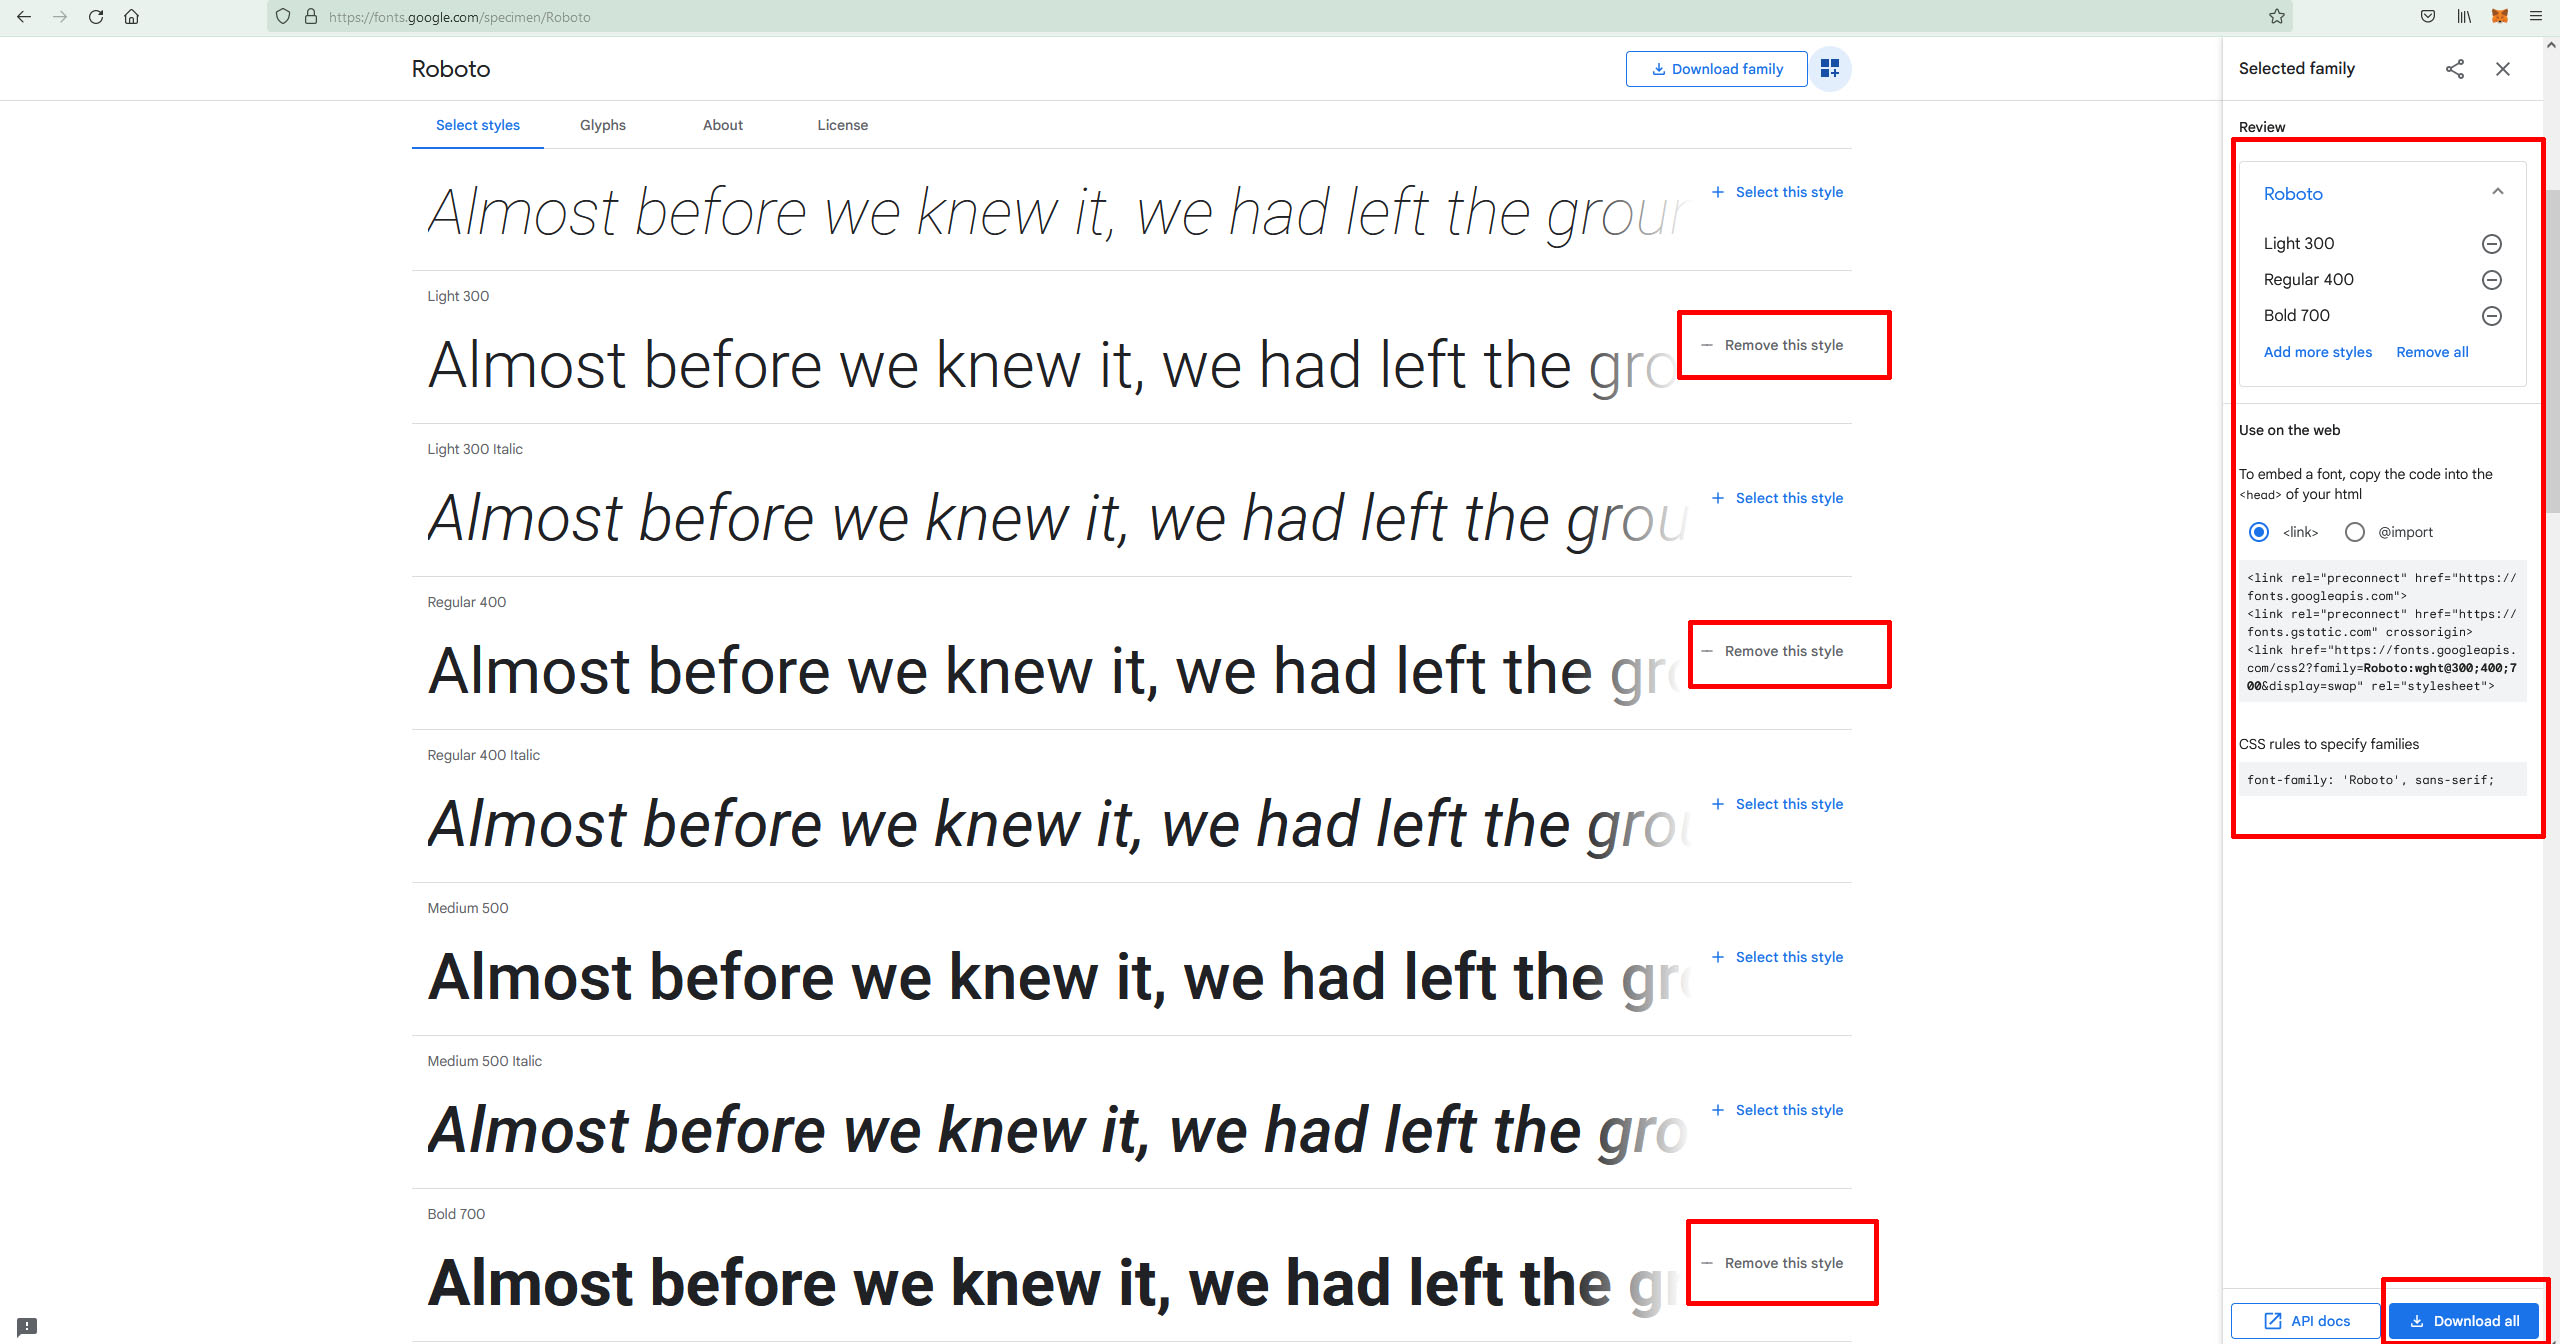
To use these fonts on your WordPress website, you’ll need to copy the links provided by Google Fonts in the grey box on the left of the screen. It will look something like this:
<link rel="preconnect" href="https://fonts.googleapis.com">
<link rel="preconnect" href="https://fonts.gstatic.com" crossorigin>
<link href="https://fonts.googleapis.com/css2?family=Roboto:wght@300;400;700&display=swap" rel="stylesheet">
Next you need to head back to your WordPress dashboard and open up Appearance > Theme File Editor > and navigate to the header.php template of your child theme.
Paste the code above just before the closing </head> tag of your header.php template:

Now you can start using your new fonts by declaring that you want to use them on specific elements in your CSS! Back in Google Fonts, you’ll notice another little bit of code just below the one we copied earlier. It will look like this:
font-family: 'Roboto', sans-serif;That’s the bit of CSS code you need to add for your new font to appear on any element in your WordPress website.
Let’s say you want to make your h1 use Roboto. Go to Appearance > Customize > Additional CSS > and add this code:
h1 {
    font-family: 'Roboto', sans-serif;
}
That’s it! You can change h1 in the example above to any ID, class or tag and add Roboto to any element of your website.
Using FontSquirrel to Add Custom Fonts
- Download a font from Font Squirrel
- Go to Webfont Generator.
- Click the Upload Fonts button and choose a font that you want to convert,
- Tick the box in the Agreement section to state that your fonts are legally eligible for web embedding.
- Press the Download Your Kit button and save the .zip archive to your computer.

Inside the zip file, you will find fonts in WOFF and WOFF 2.0 format along with CSS files and demo HTML page.
Download the font to your computer and extract the .zip archive.
Upload your font file to wp-content/themes/your-theme/fonts directory. Create a separate fonts folder if you don’t have one yet. You can use an FTP client like FileZilla or Cyberduck, or if you prefer, you can use your hosting companies hosting panel, like cPanel or Plesk. Next, you’ll need to do this:
Head to the WordPress dashboard, then go to Appearance > Customize > Additional CSS. Add the following code:
@font-face {
 font-family: YOUR FONT NAME;
src: url(https://test-site.com/wp-content/themes/twentynineteen/fonts/your-font-name.ttf);
font-weight: normal;
}
Don’t forget to change font-family and URL values to match your font!
The Font-face code will load the font for any new visitor but you still need to apply it to an element for it to show up on your WordPress website.
In the same place, under that code, add:
h1 {
   font-family: 'YOUR FONT NAME', sans-serif;
}
Remember to set YOUR FONT NAME as the same thing in both the style and font-face code, and that you can also use this on any tag, class or ID on your site.
How to Add Fonts in WordPress using Plugins
Using plugins is probably the easiest way to add custom fonts to your website, but remember, adding too many plugins will slow down your site!
WP Google Fonts
WP Google Fonts offers you the freedom to use custom fonts and apply them to particular CSS elements.
Easy Google Fonts
With Easy Google Fonts, you can use any theme and preview any font in real-time. It’s also simple to use since no coding skills are required.
Use Any Font
Use Any Font is another excellent plugin that can help you add several fonts to your WordPress website. Once installed, create a free API key and press the Verify button.