Last Updated on April 24, 2022 by WP Knowledge Hub
Elementor is a visual page builder plugin for WordPress enabling the creation of advanced web designs using simple layout tools, CSS animations, responsive widgets, streamlining tools, and more.
Create and manage your own website – all without knowing how to code. Skip the hassle of using WordPress’ default block editor. You can start building amazing websites with Elementor!
What is the Elementor Page Builder Plugin?
Elementor is one of WordPress’ most popular plugins. It’s one of the leading website building platforms for WordPress, enabling new WordPress users to build professional websites with an intuitive drag-and-drop builder. You can quickly create great web designs for any business. Elementor’s open-source product comes with roughly 40+ basic widgets, and 30+ templates. Additionally, you can extend Elementor’s capabilities even more using Elementor Pro.
Is Elementor a Good Page Builder?
Is Elementor a good page builder for WordPress? Although many premium themes come attached with the WPBakery Page Builder plugin, Elementor is probably one the easiest page builders to learn and master for beginners, and it’s also the one that delivers you the most features for free. This is why it’s one of the most installed and best-rated page builders out there. Building websites is not as easy as it first seems, but Elementor gives you the highest chance of success by making it as user-friendly as possible!
How Elementor Page Builder Works
Elementor uses three main components: Sections, Columns, and Widgets. Sections act like rows, and inside them are Columns. Columns will always be inside of Sections and inside those, you have Widgets. Anytime, you click on one of these units, you’ll be able to edit it using its handle (the little blue boxes on top of each block).
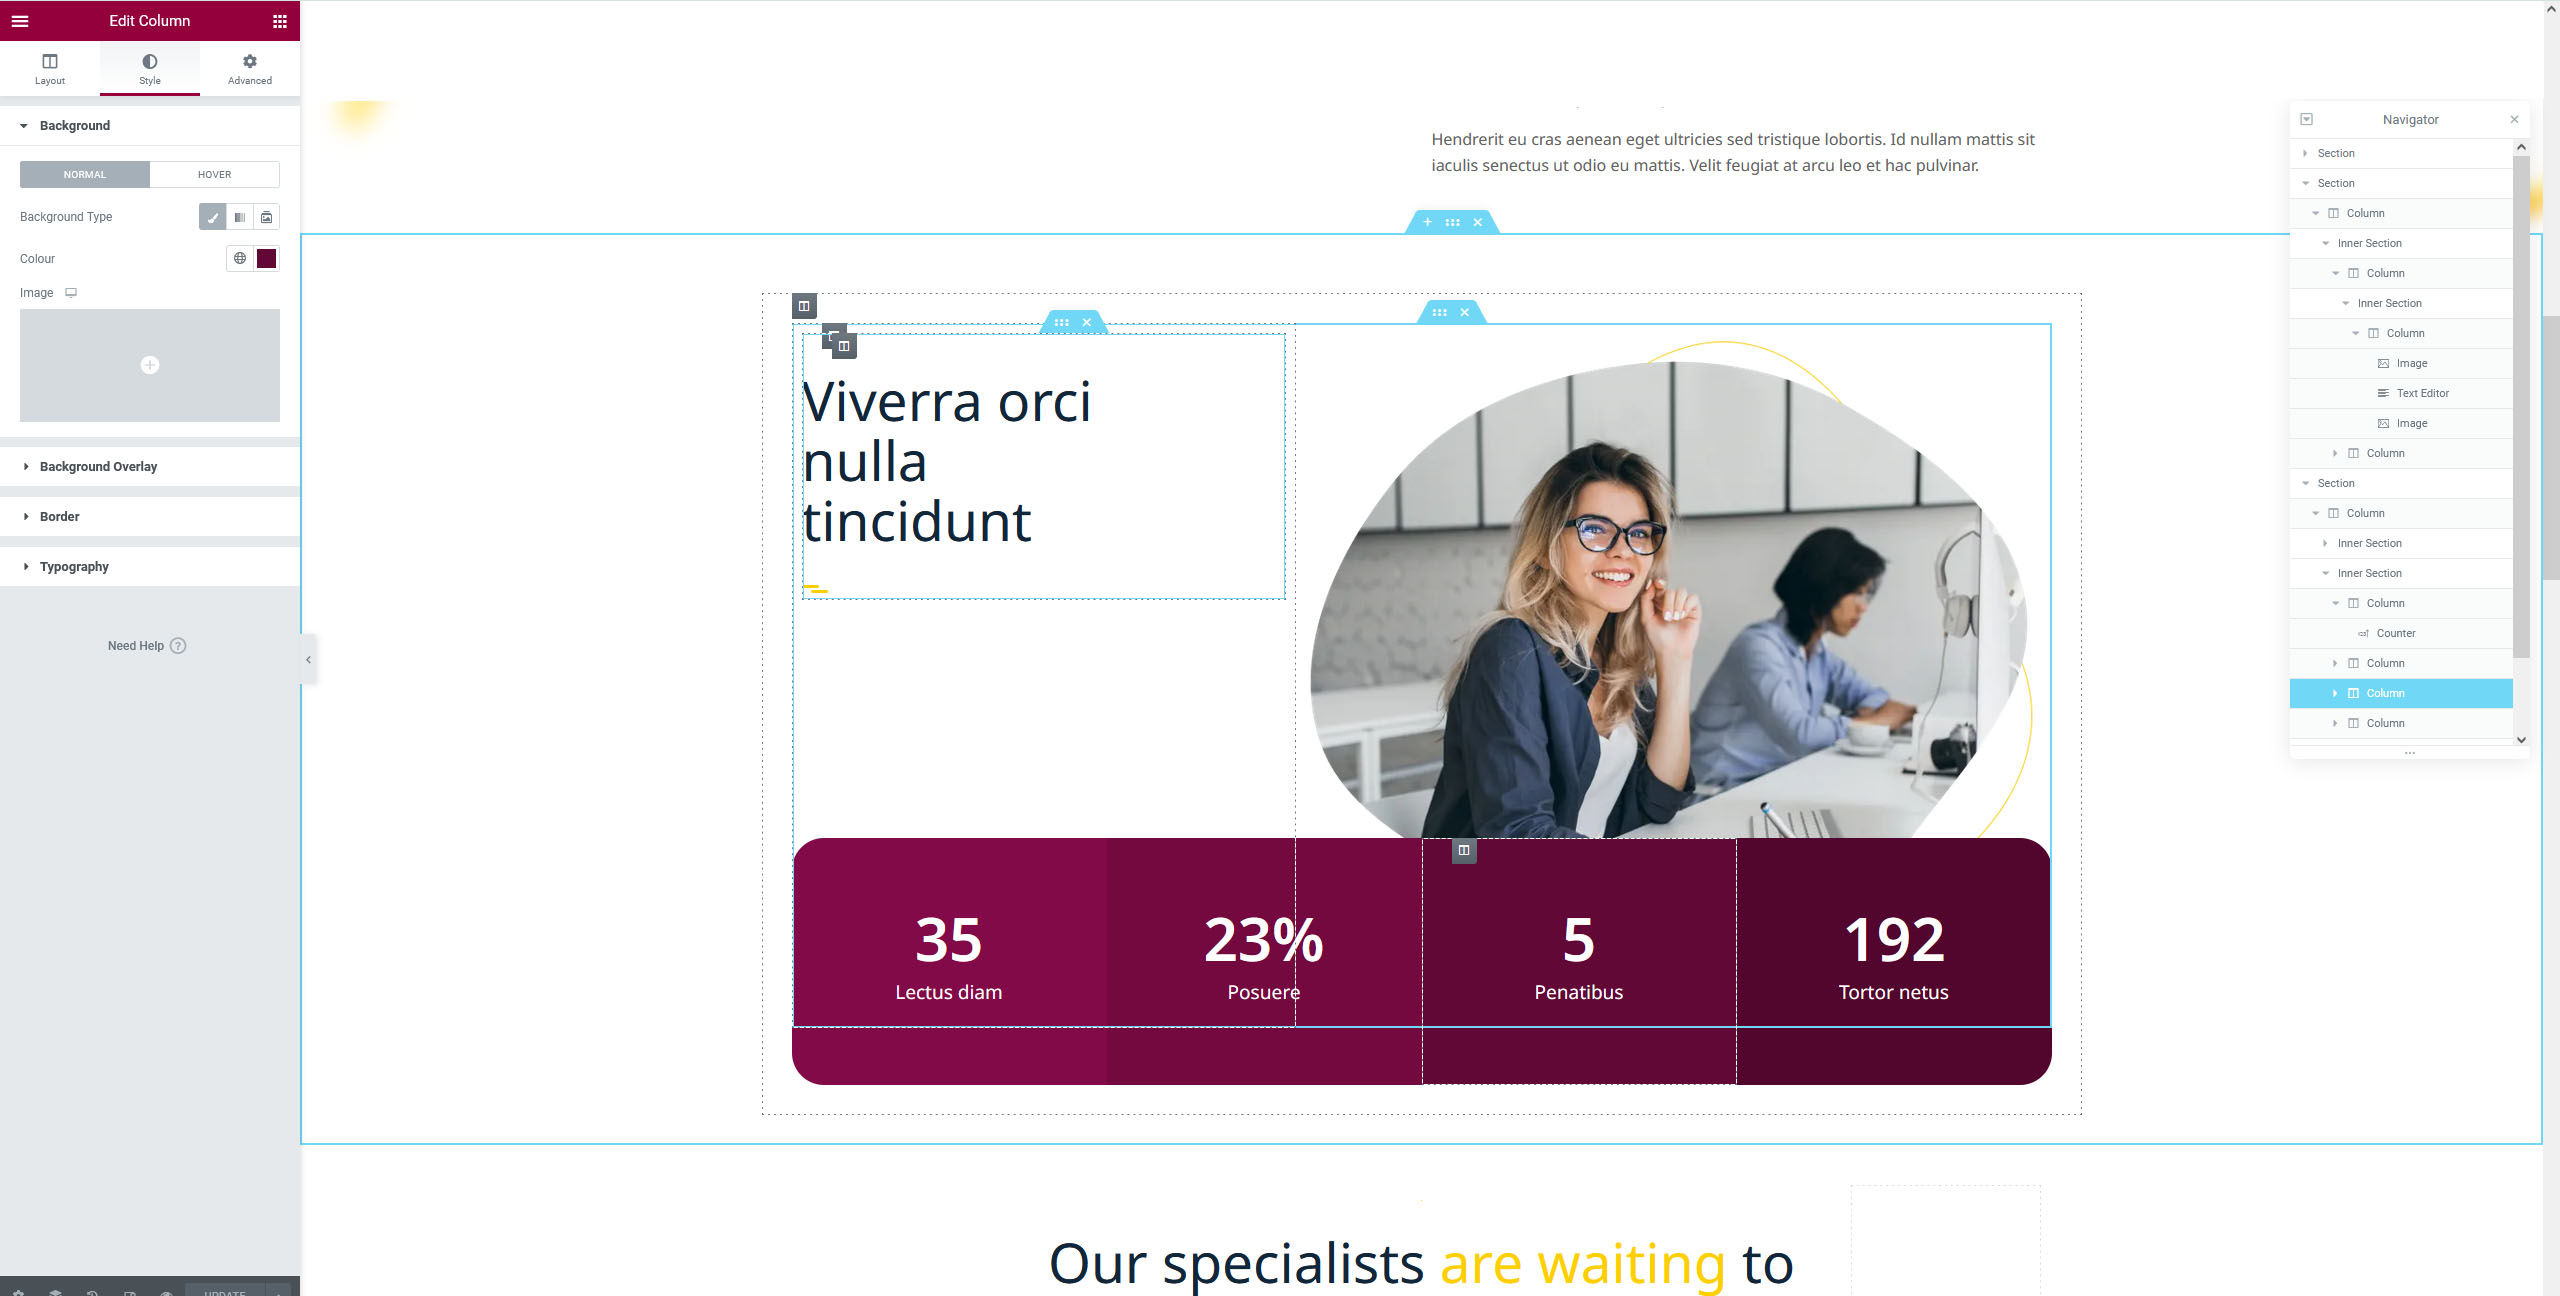
How to Add or Edit a Component in Elementor
When you’re starting a new page, you can click the burgundy + icon in the empty box on the page to choose your column layout.
Once you’ve chosen your first layout, a Section with the chosen Columns will appear, and you can edit those Sections, Columns, or Widgets by clicking their respective handles.
Elementor Sections
In order to create an amazing layout, you must understand the basics of web design. Each beautiful, professional layout you see on most modern websites is composed of row and columns, with ‘widgets’ or blocks inside each column. No matter how simple or complex the design, this will be true. Elementor leverages this technique and makes it easier by allowing you to drag-and-drop almost any element where you need it.
Elementor Sections are the rows the surround the Columns. They are the main building block of the web page layout.
- Start a new Section by clicking the + burgundy icon
- Choose the number of Columns for this Section
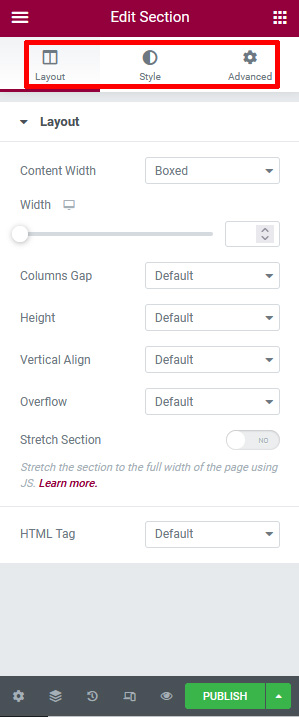
- Your Elementor sidebar (on the left side) now becomes focused on this particular Section.
- Edit this Section by changing the Layout, Style, or Advanced options
Layout Settings
Here you can change a number of options relating to the layout, most notably, changing the boxed section to a full-width one
Style Settings
In the Style settings, you’ll be able to change any visual options relating to your Section, such as colors, backgrounds, borders, etc.
Advanced Settings
These settings, as the name would suggest, are for the more advanced users. You can play with the Padding, Margin, Animations, Responsiveness, or give additional CSS classes.
Note: the settings above are common across almost all building blocks in Elementor, not just the Sections.
Elementor Columns
Columns are children of Sections, and divide the Section into parts using percentages. You can choose to have only one (you always need at least one Column), or have multiple equal Columns. You can also set the Columns width by dragg the dashed line between the Columns. To add more Columns Right Click > Add New Column
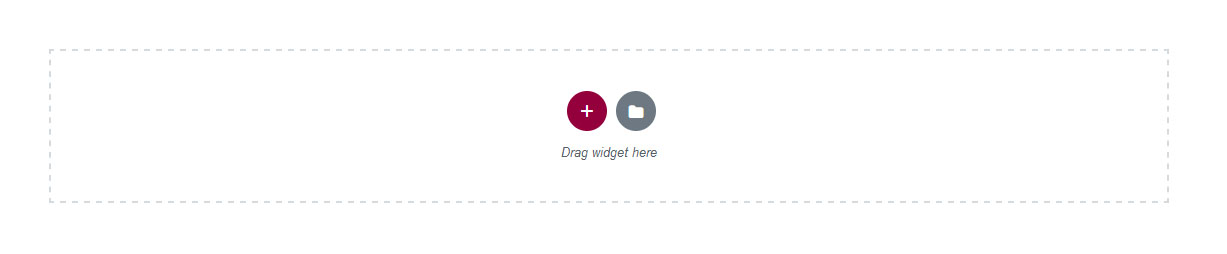
Elementor Widgets
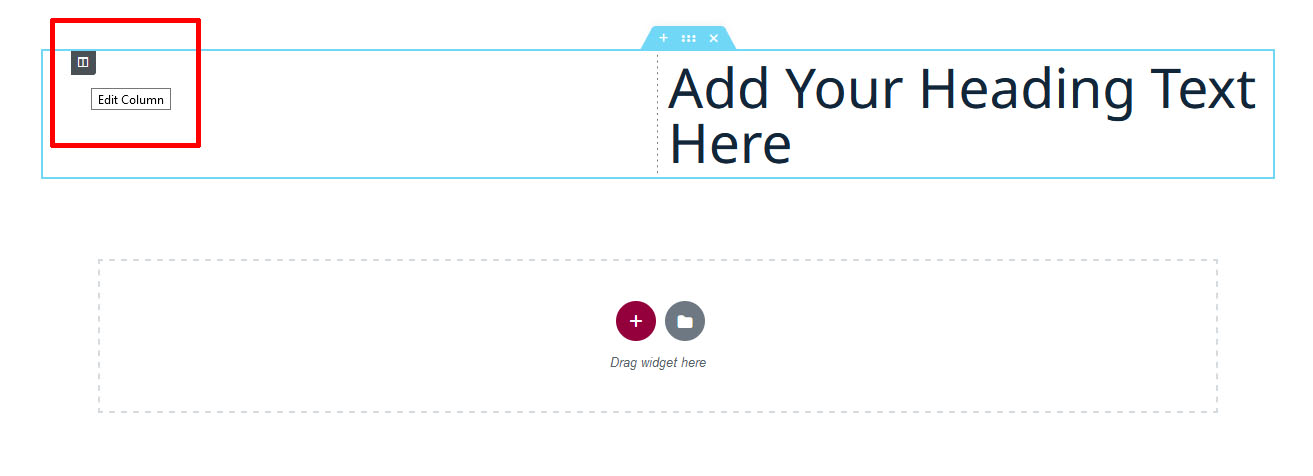
Elementor Widgets function much like WordPress blocks. Once you click on the + icon INSIDE the Column box (not the burgundy one below the Section), your Elementor sidebar will switch its focus on Widgets, allowing you to drag and drop one anywhere in the Column.
Start by adding a Heading and a Text Editor Widget inside one of your Columns. When you drag it and hover over the area you want to drop it, you’ll notice a thick blue bar appearing. This lets you know that it’s ready to be placed, and shows you where it’s going to insert the Widget in relation to other Widgets in the Column:

Copy or Delete Elementor Content
Additionally, you can Copy or Delete any content on your page by right clicking on any of the elements on the page.
Using Elementor Templates
Templates are pre-made, professionally designed pages and blocks that can be placed anywhere one your website, much like you would add a Section.
- From the editor, click the folder icon next to the burgundy + icon
- When the library of templates pops up, click the magnifying glass icon to preview a template.
- Click INSERT to select the template of your choice.
Note that some of the templates and blocks required Elementor Pro, and you will need to create a free personal account to get started.
Elementor Mobile Design
You can view your design on Desktop, Tablet or Phone by clicking the small “Responsive Mode” icon at the bottom of the Elementor sidebar. This enables the Responsive Bar at the top of your screen, where you can toggle between different devices.
You can also choose to Show / Hide a Section according to the devic by going to Section Settings > Advanced > Responsive, and setting your visibility preferences.