
Last Updated on April 20, 2022 by WP Knowledge Hub
Are you getting errors messages while trying to upload images in your WordPress website’s Media Library? This can be a pain in the butt if you’re not a developer.
This is a somewhat common issue that typically happens with poorly configured WordPress shared servers, but it can happen to anyone.
The easiest way to solve this issue is to contact your web hosting provider’s technical support team, but if they fail to help, you can try a few things yourself.
‘Unable to create directory wp-content/uploads…’ Issue in WordPress
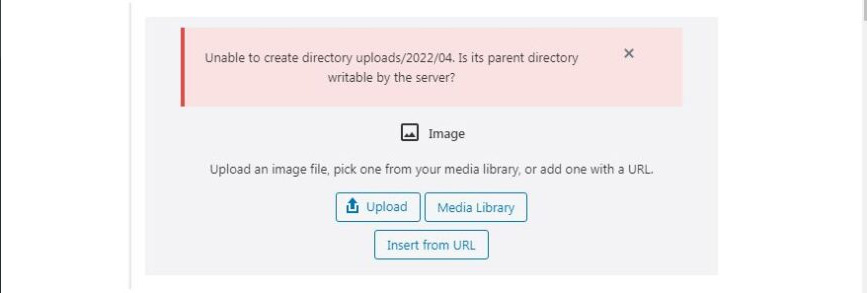
Wrong file permissions prevent WordPress from reading or uploading file on the hosting server. You may get the following error when uploading image file:
‘Unable to create directory wp-content/uploads/XXXX/XX. Is its parent directory writable by the server?’ )
Or, somtimes it says something like: ‘The uploaded file could not be moved to wp-content/uploads/’.
A sign that something might be wrong with your server’s WordPress configuration is that your images may be disappearing from the media library.
Why does my site suddenly stop working if it was working before?
This could happen due to a number of reasons. A bad configuration of your shared hosting server can sometimes change those permissions without you doing anything.
It could be due to:
- A server change on the host’s end that you were unaware of
- A recent WordPress version or plugin update that conflicts with your setup
- Someone manually changing the file permissions on your server
- A PHP version change (from 7.2 to 7.4, for example)
If everything else is working fine on your website, but you still can’t upload images, then it’s probably just the file permissions.
Changing File Permissions in WordPress
In order to change file permissions, you will need to use an FTP client like FileZilla or Cyberduck.
- Connect to your website via FTP and then find the
/wp-content/folder. There, you’ll find theuploadsfolder, which is where WordPress stores all your media, including images. - Right click on the uploads directory and then select File Permissions. )
- Set file permissions for the uploads directory and all the subdirectories inside it to 744. Click on the OK button to apply these changes. Your FTP client will now start applying file permissions to the directories.
Note: If setting directory permissions to 744 does not seem to solve your problem, then try 755.
In the next step, you will need to set file permissions for all the files in the uploads directory:
- Right click on uploads directory and select file permissions. In the file permissions dialog box, change the numeric value to 644.
- Check the box next to Recurse into subdirectories. Lastly, you need to click on ‘Apply to files only’ radio button. Click on the OK button to apply these changes. )
Once you are done, try uploading images again.
If this doesn’t solve your issue, you might be facing a different problem, the HTTP Error.
How to Fix the WordPress HTTP Error
This problem could be from two things: the first might be a user error (something you did wrong on your end), and the second might be a problem or setting on your WordPress hosting account (server issue).
Hereis what you can do to try to fix these issues:
- Refresh the Page
- Resize the File (change the image size)
- Rename the Image File (make sure there are no spaces or weird characters)
- Temporarily Deactivate Plugins and Theme
- Contact Your WordPress Host
- Increase PHP Memory Limit
- Check Uploads Folder Permissions
- Move to the Latest Version of PHP


